Frogrammer
Frogrammer is another course project. This one ignited my passion for product visualization. The course initially focuses on developing a semi-feasible toy concept during the first few weeks. The remainder of the course is dedicated to creating advanced animations and renderings for the toy.
Software used:
Ideation sketching
The great thing about designing toys is that there are almost no restrictions. A child can play with almost anything, as their imagination will fill any gaps and even expand upon the existing product.
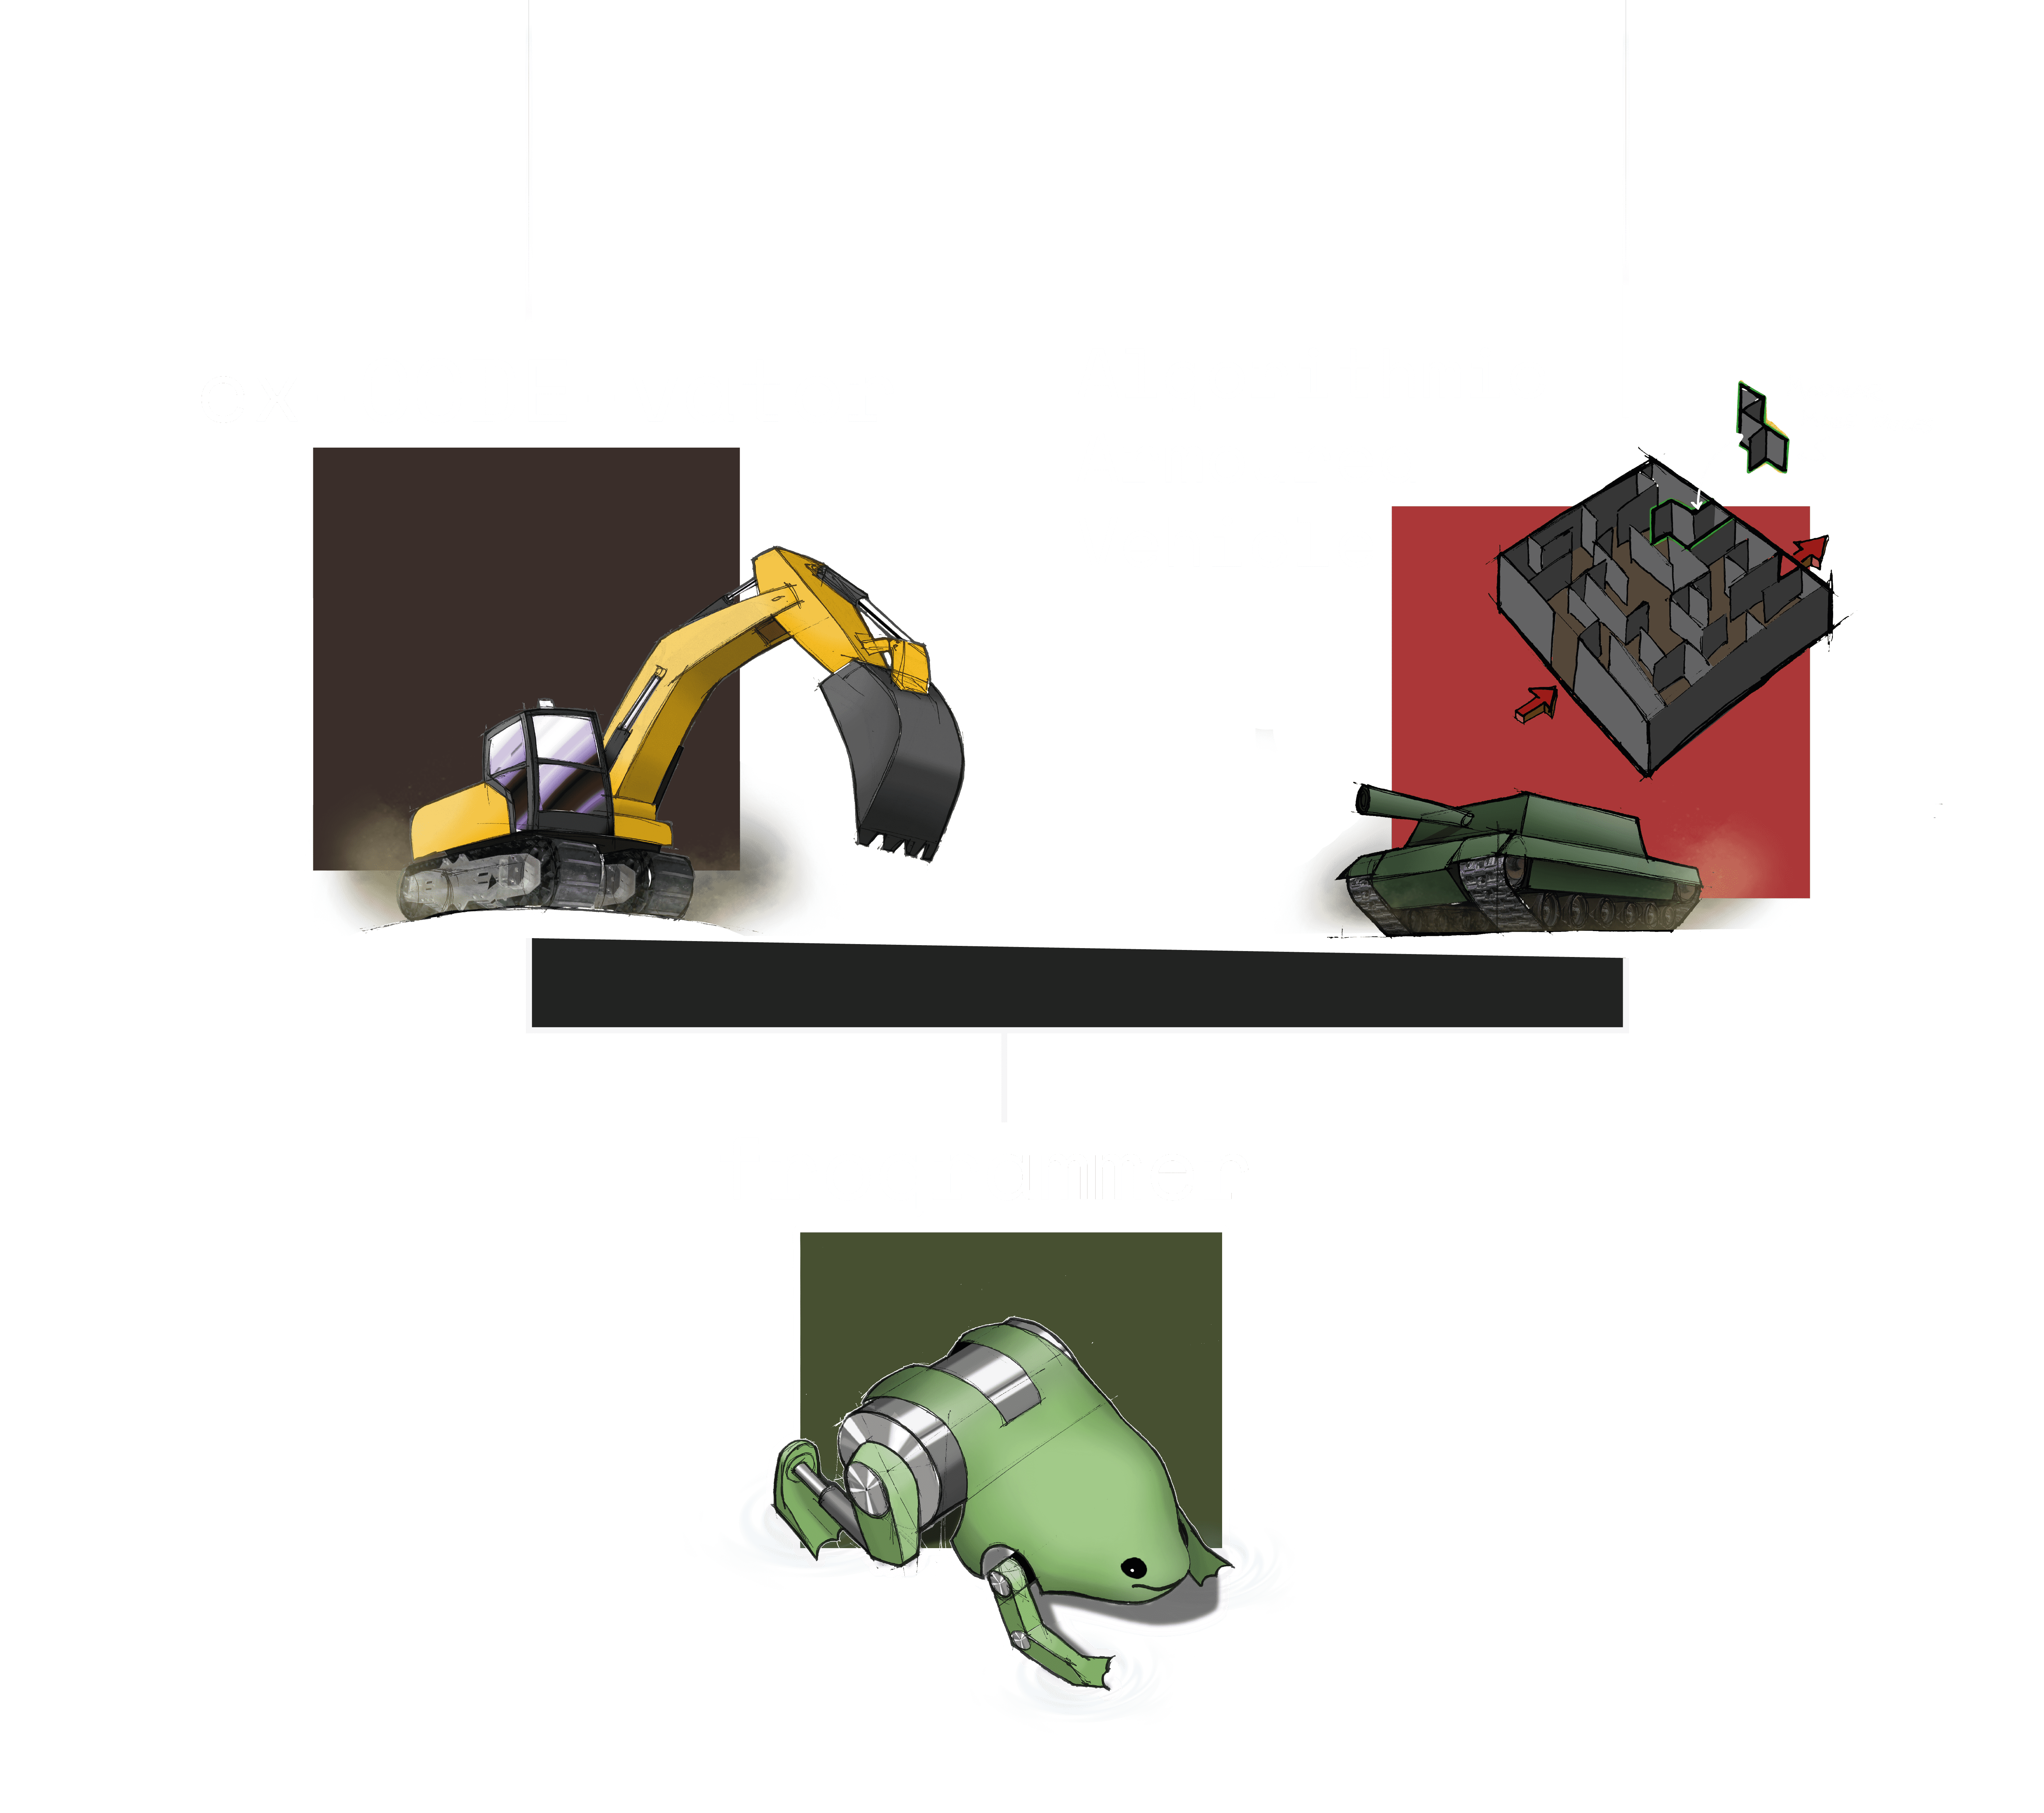
The project was done in groups, and the theme for our group was 'Learning,' so early on, I sketched ideas for buildable toys. However, I later shifted my focus to an older demographic of kids and set my sights on programmable toys.
For inspiration, I looked at LittleBits, Lego Technic, Raspberry Pi, and Arduino.

Making a decision
As enjoyable as it is to generate sketch after sketch, eventually, you have to choose just one to proceed with. I had to choose between Frogrammer, Ex-CODE-vator, and Algorithmic Armoured Vehicle.
I think you know which one I liked the most.

Preparing
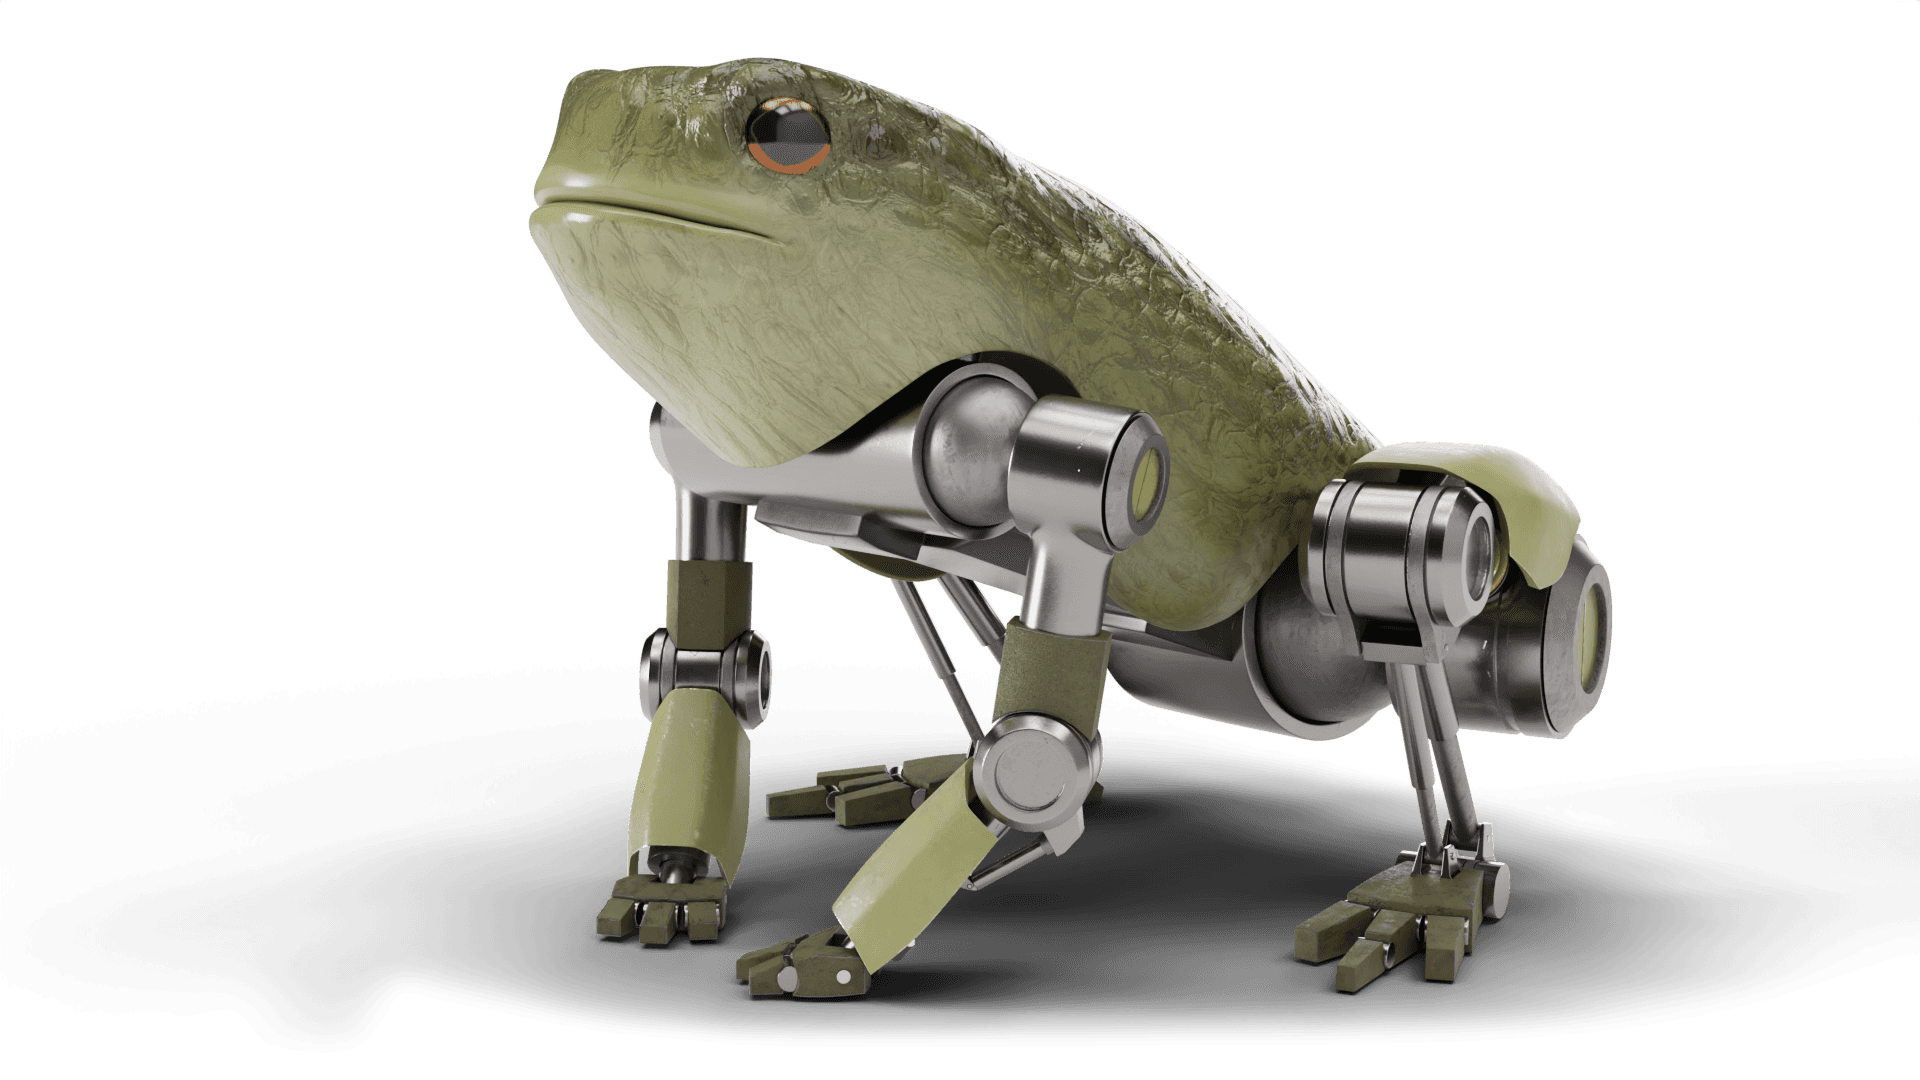
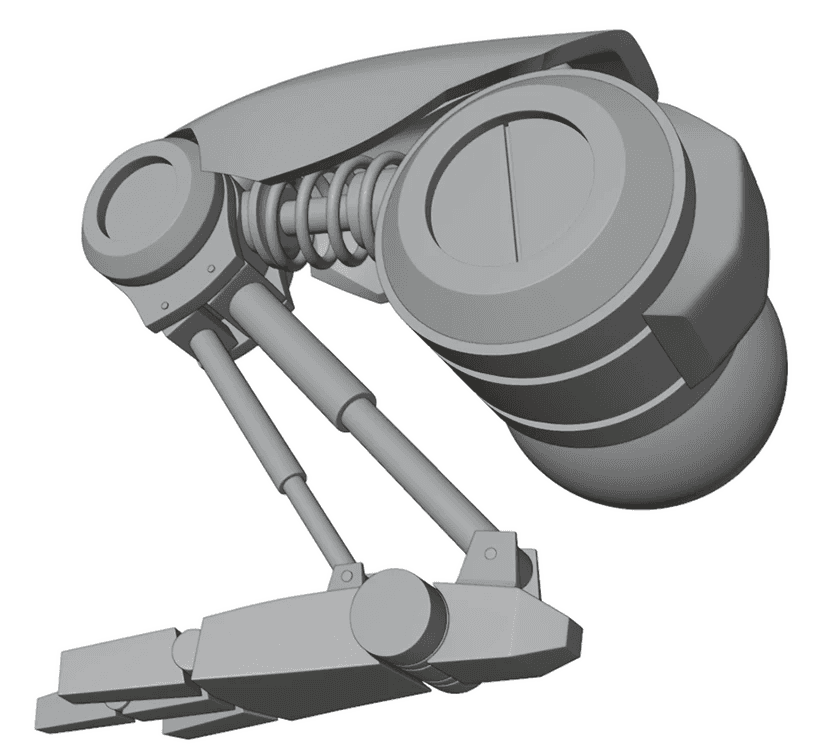
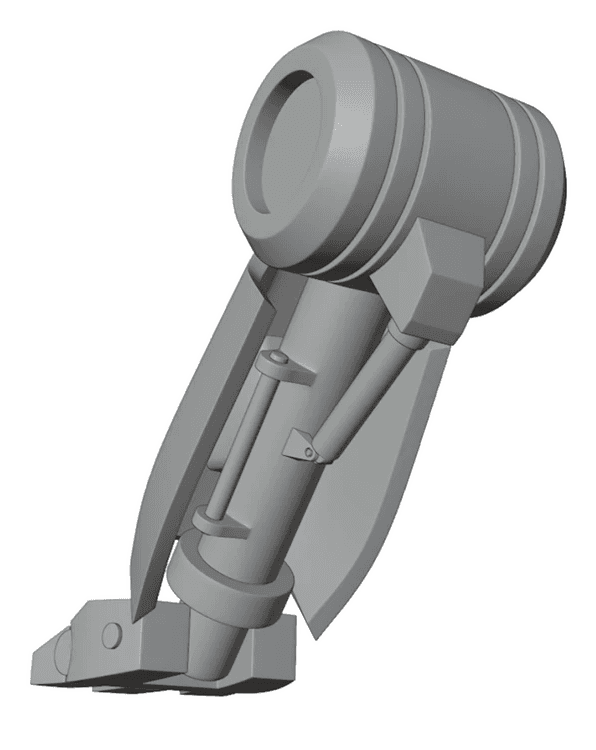
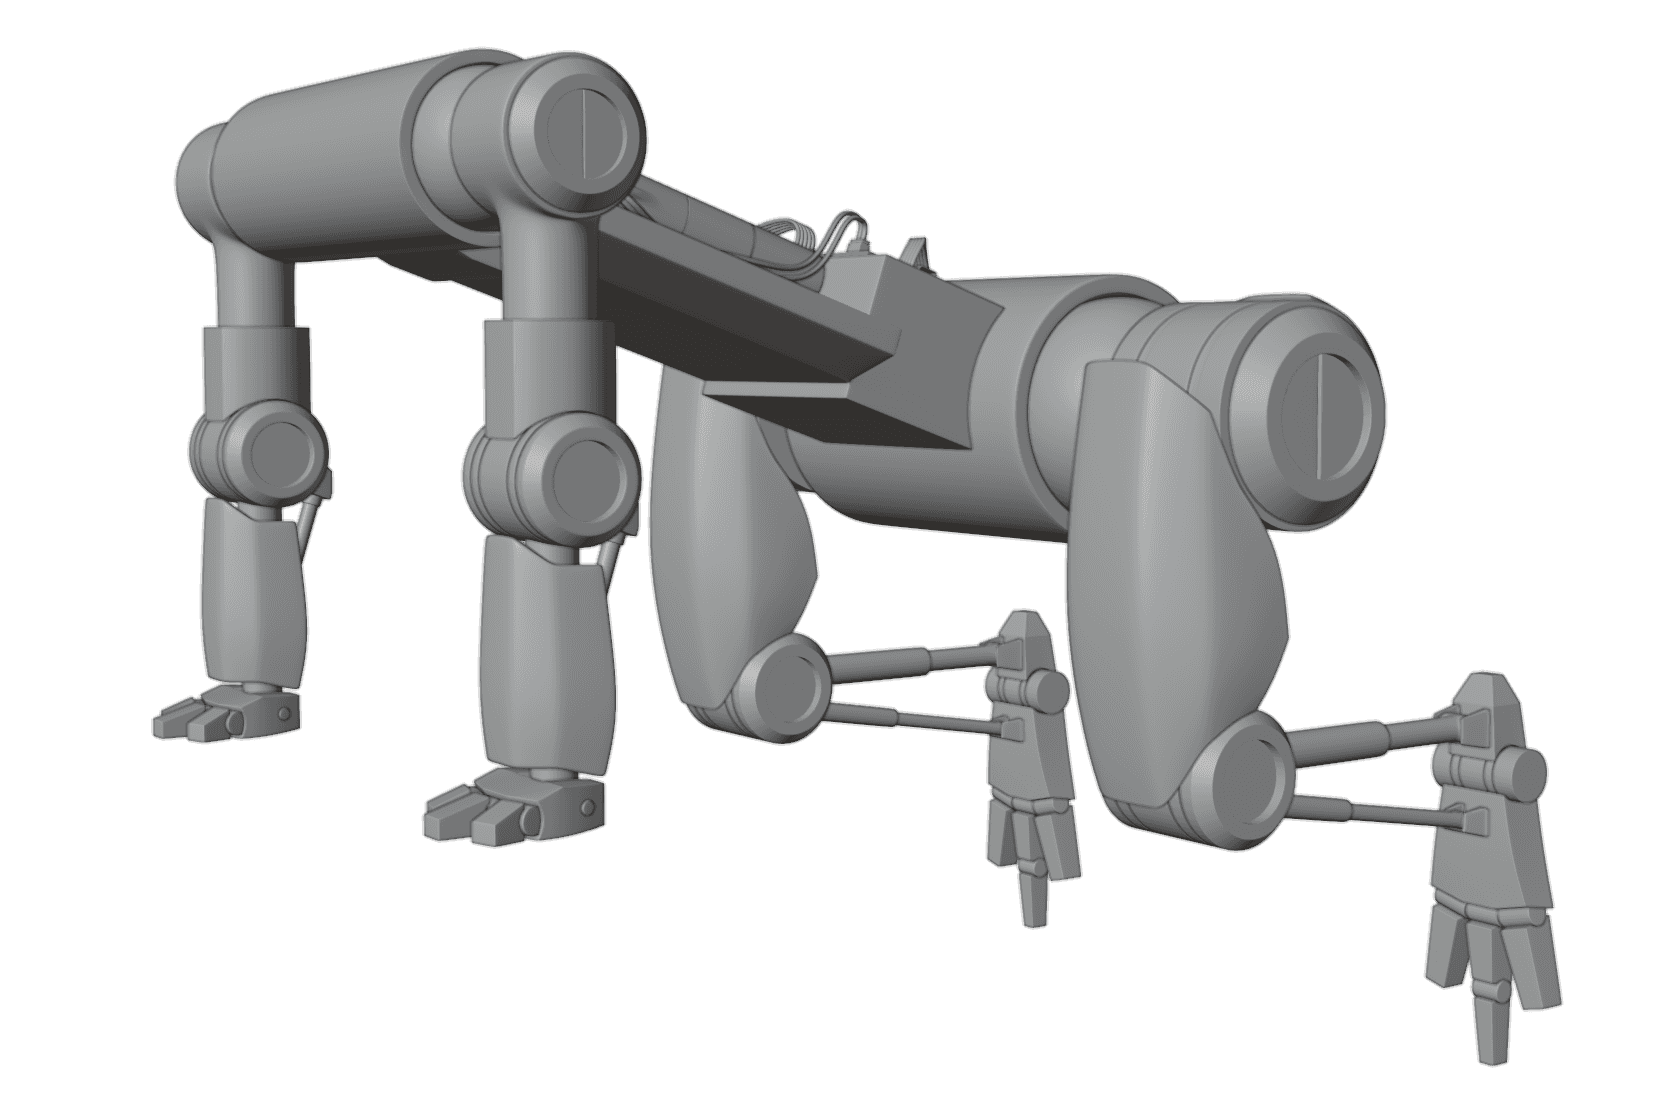
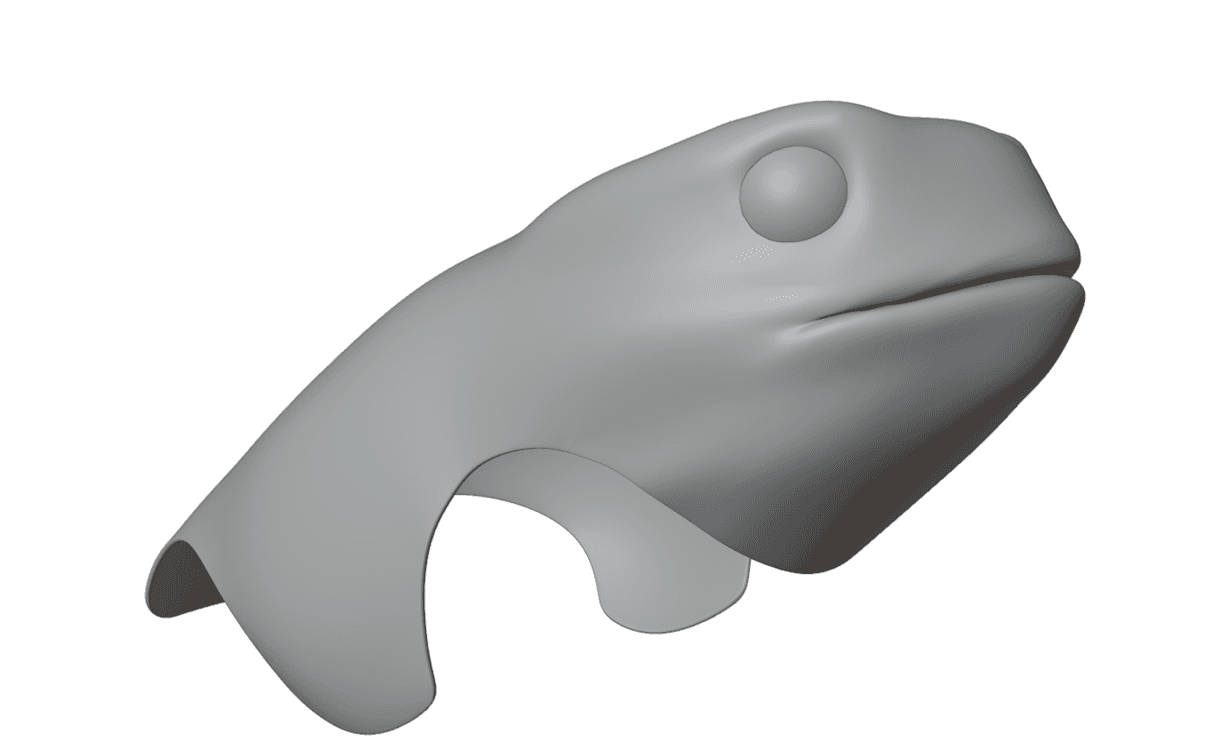
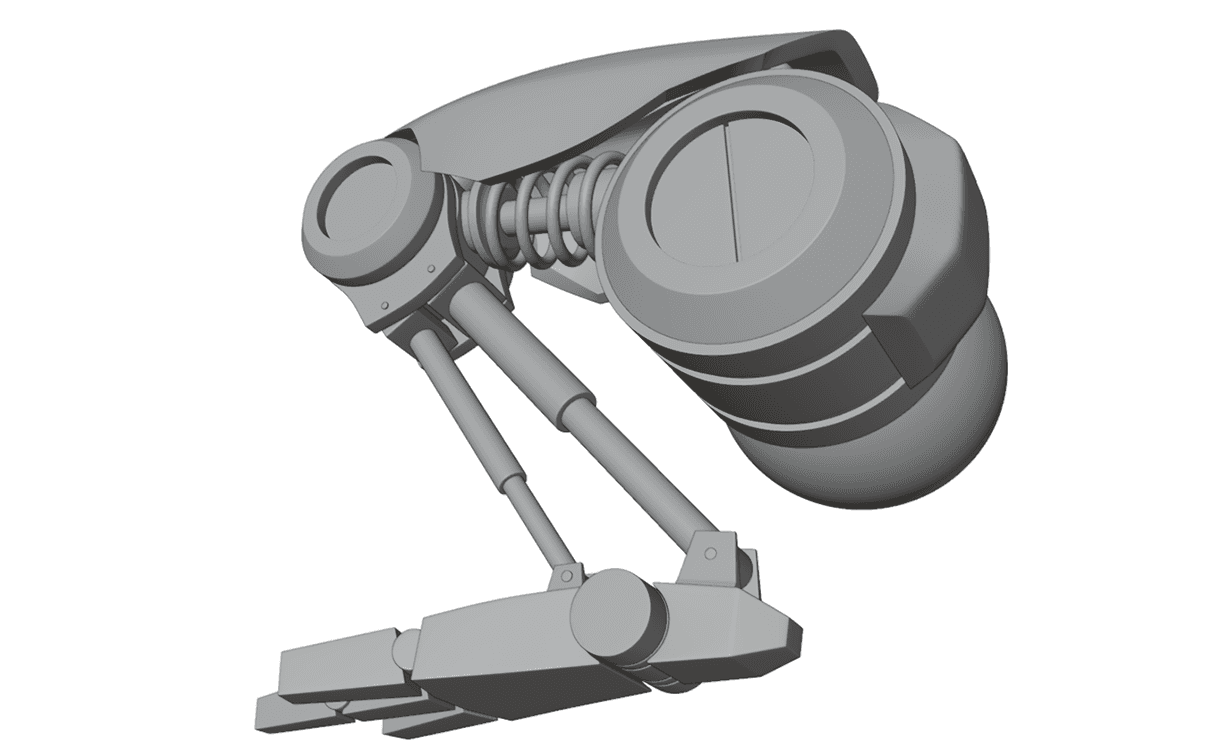
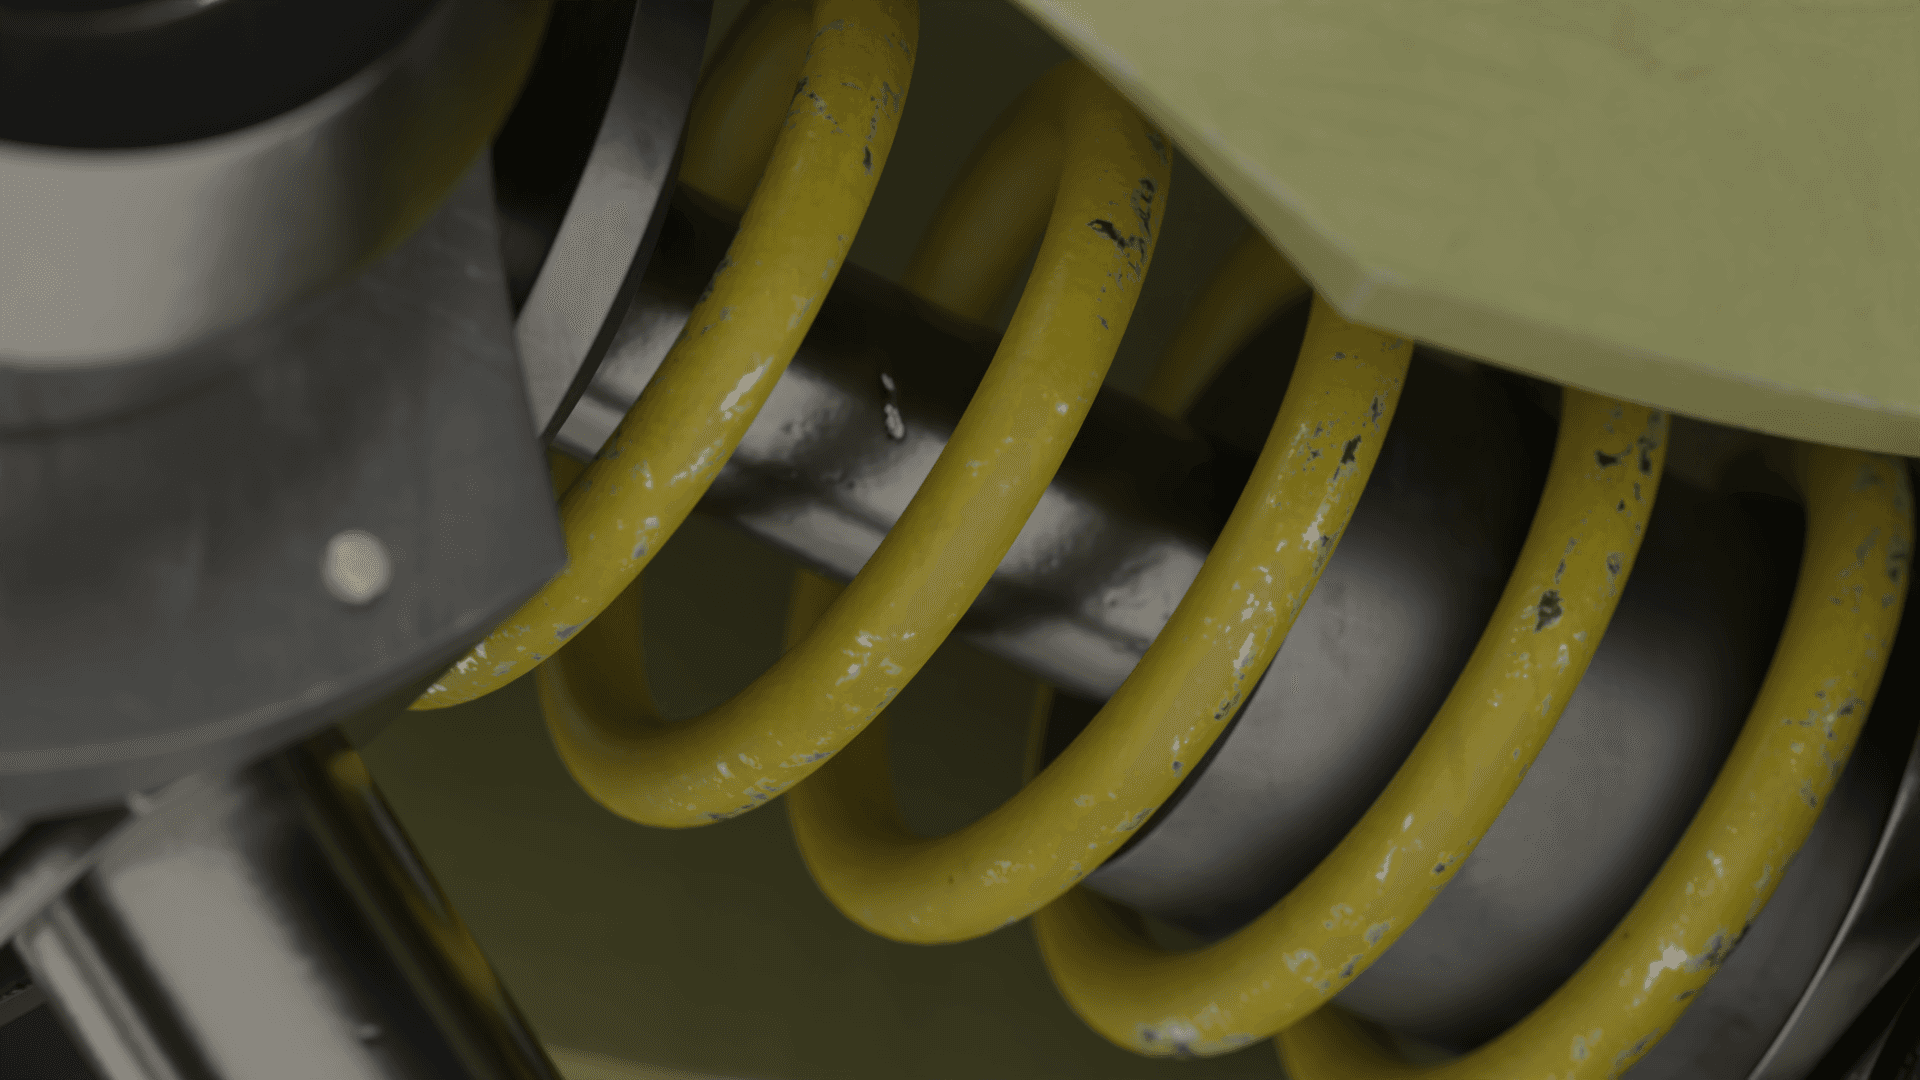
For Frogrammer, I aimed for a visually interesting robotic appearance. I envisioned the legs being composed of various pistons, cylinders, and other mechanical axles, while the main 'frog cover' would be made of rubber. Creating a simple initial sketch based on a jumping frog made it easier to map out the mechanical parts, ensuring some feasibility.
Modelling
The modeling was all done in Blender. The program's fast and simple workflow made it easy for me to try out different shapes and forms, and explore the product's expression.


rigging
Continuing in Blender, I rigged the model with an armature. Given that the mechanical parts were quite simple in function—mostly axles with a single rotational degree of freedom—I anticipated this would be a quick task. However, creating an inverse kinematic rig turned out to be the most challenging part of this project.
Once I finally achieved a rig that produced movements I was satisfied with, I was able to create the walk and jump cycles for the final animation.

texturing
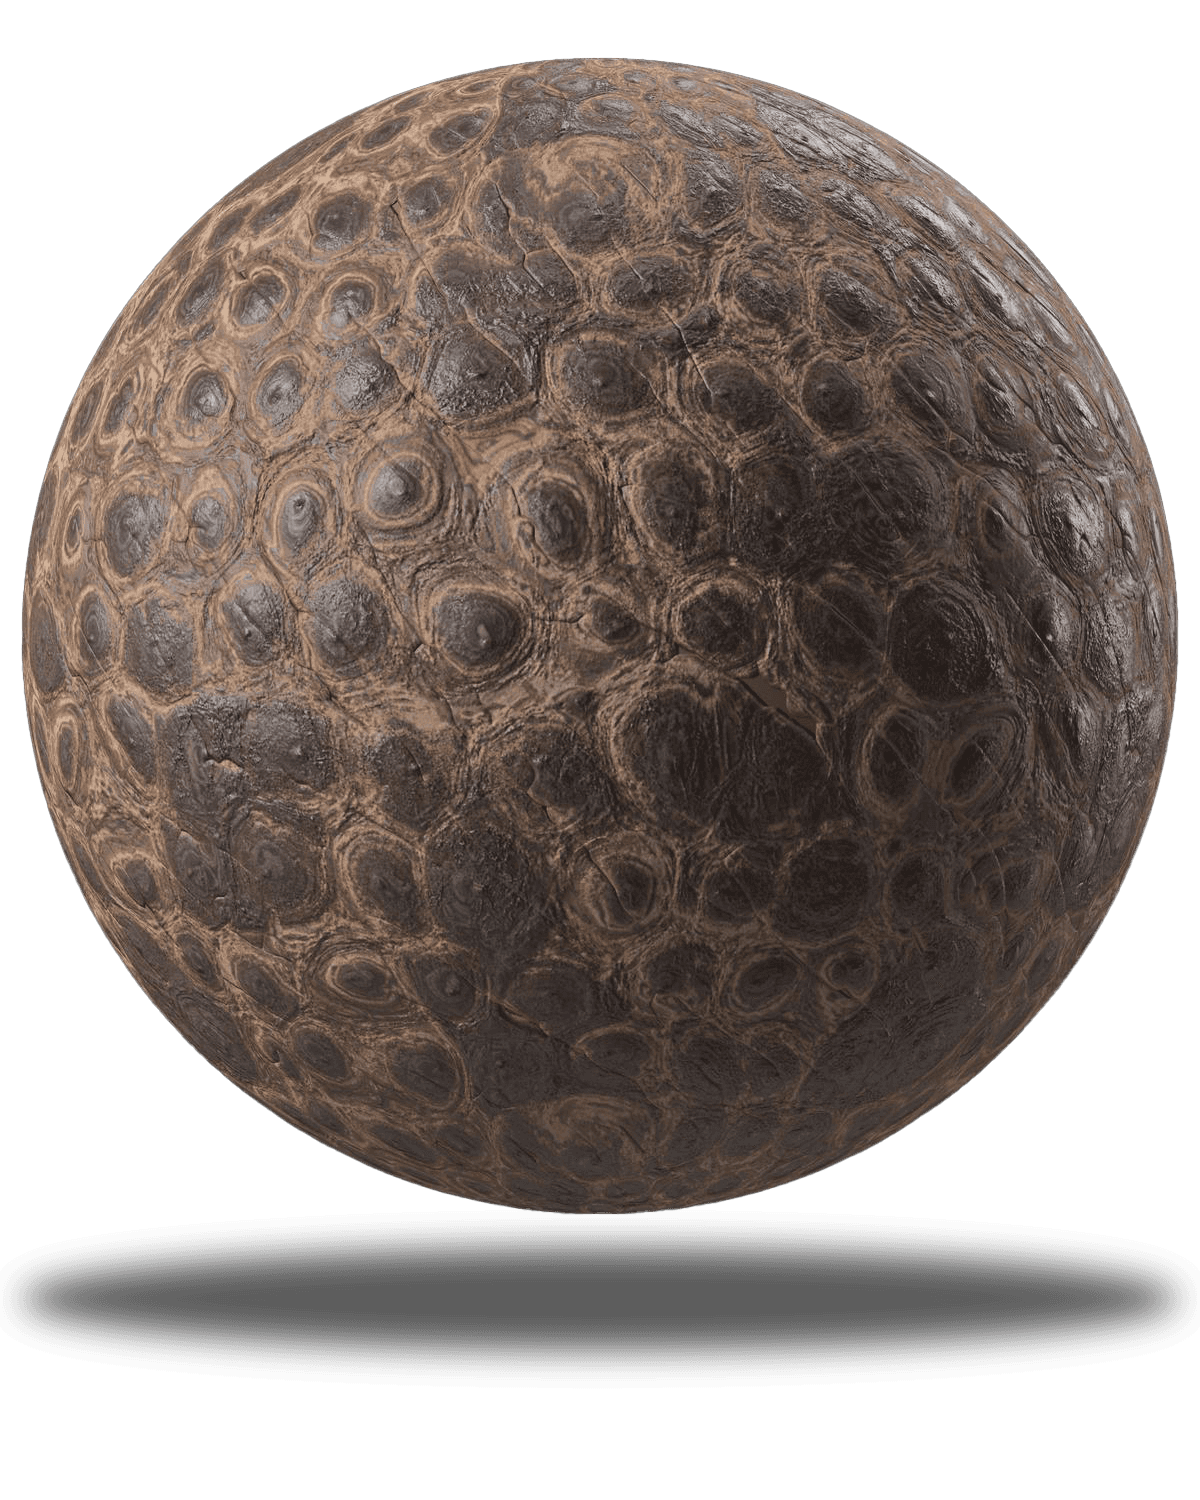
Taking a break from Blender, I transitioned to Adobe Substance Painter for texturing. The software's vast array of editing options allowed me to create the precise look I had envisioned from the project's onset. Utilizing a community asset for crocodile skin, I modified it to achieve a frog-like texture that was highly realistic, while still maintaining the impression of rubber.
Animating
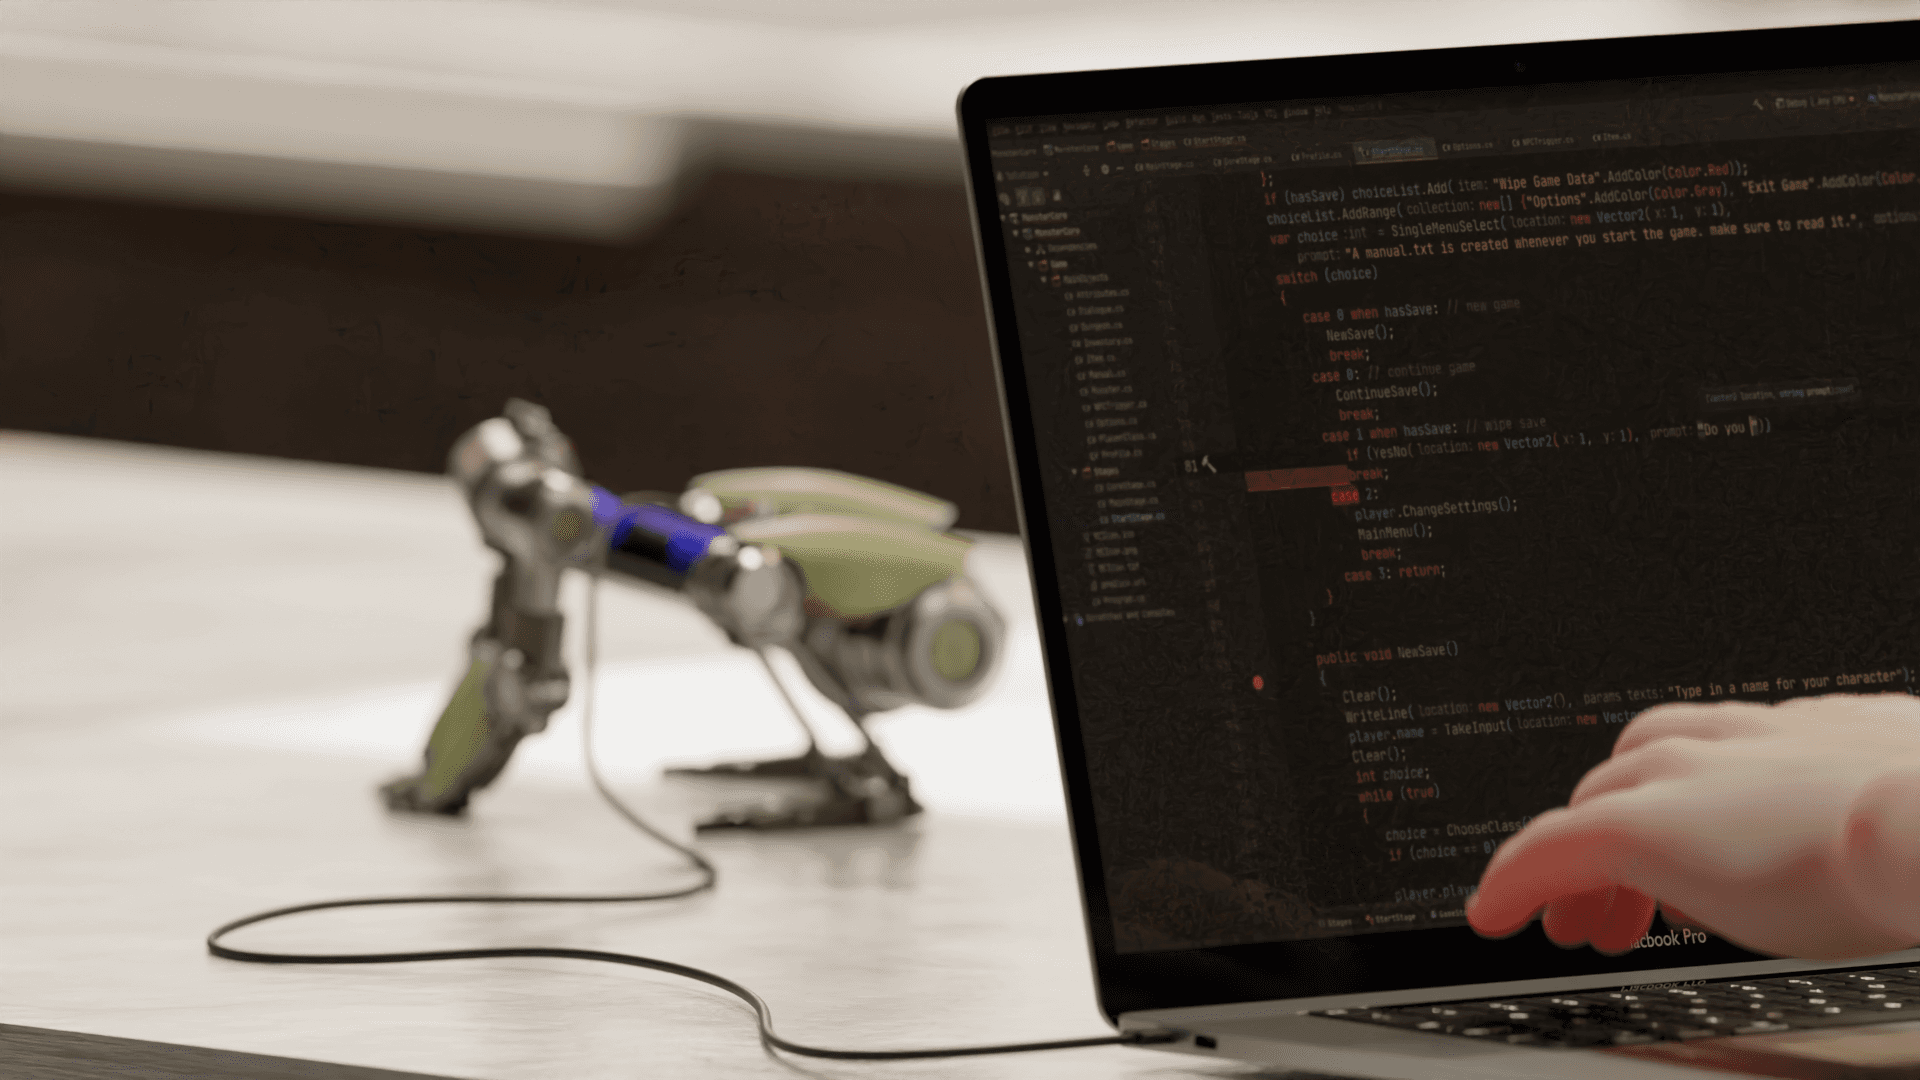
...And back into Blender we go for the animation process. Having experience with video editing software like Adobe Premiere Pro, my familiarity with a keyframe-based workflow made embarking on this, my first ever project in Blender, less daunting.
Preparing
For Frogrammer, I aimed for a visually interesting robotic appearance. I envisioned the legs being composed of various pistons, cylinders, and other mechanical axles, while the main 'frog cover' would be made of rubber. Creating a simple initial sketch based on a jumping frog made it easier to map out the mechanical parts, ensuring some feasibility.
Modelling
The modeling was all done in Blender. The program's fast and simple workflow made it easy for me to try out different shapes and forms, and explore the product's expression.
rigging
Continuing in Blender, I rigged the model with an armature. Given that the mechanical parts were quite simple in function—mostly axles with a single rotational degree of freedom—I anticipated this would be a quick task. However, creating an inverse kinematic rig turned out to be the most challenging part of this project.
Once I finally achieved a rig that produced movements I was satisfied with, I was able to create the walk and jump cycles for the final animation.
texturing
Taking a break from Blender, I transitioned to Adobe Substance Painter for texturing. The software's vast array of editing options allowed me to create the precise look I had envisioned from the project's onset. Utilizing a community asset for crocodile skin, I modified it to achieve a frog-like texture that was highly realistic, while still maintaining the impression of rubber.
Animating
...And back into Blender we go for the animation process. Having experience with video editing software like Adobe Premiere Pro, my familiarity with a keyframe-based workflow made embarking on this, my first ever project in Blender, less daunting.
Process
Process
Process
Preparing
For Frogrammer, I aimed for a visually interesting robotic appearance. I envisioned the legs being composed of various pistons, cylinders, and other mechanical axles, while the main 'frog cover' would be made of rubber. Creating a simple initial sketch based on a jumping frog made it easier to map out the mechanical parts, ensuring some feasibility.
Modelling
The modeling was all done in Blender. The program's fast and simple workflow made it easy for me to try out different shapes and forms, and explore the product's expression.

rigging
Continuing in Blender, I rigged the model with an armature. Given that the mechanical parts were quite simple in function—mostly axles with a single rotational degree of freedom—I anticipated this would be a quick task. However, creating an inverse kinematic rig turned out to be the most challenging part of this project.
Once I finally achieved a rig that produced movements I was satisfied with, I was able to create the walk and jump cycles for the final animation.
texturing
Taking a break from Blender, I transitioned to Adobe Substance Painter for texturing. The software's vast array of editing options allowed me to create the precise look I had envisioned from the project's onset. Utilizing a community asset for crocodile skin, I modified it to achieve a frog-like texture that was highly realistic, while still maintaining the impression of rubber.
Animating
...And back into Blender we go for the animation process. Having experience with video editing software like Adobe Premiere Pro, my familiarity with a keyframe-based workflow made embarking on this, my first ever project in Blender, less daunting.
Preparing
For Frogrammer, I aimed for a visually interesting robotic appearance. I envisioned the legs being composed of various pistons, cylinders, and other mechanical axles, while the main 'frog cover' would be made of rubber. Creating a simple initial sketch based on a jumping frog made it easier to map out the mechanical parts, ensuring some feasibility.
Modelling
The modeling was all done in Blender. The program's fast and simple workflow made it easy for me to try out different shapes and forms, and explore the product's expression.
rigging
Continuing in Blender, I rigged the model with an armature. Given that the mechanical parts were quite simple in function—mostly axles with a single rotational degree of freedom—I anticipated this would be a quick task. However, creating an inverse kinematic rig turned out to be the most challenging part of this project.
Once I finally achieved a rig that produced movements I was satisfied with, I was able to create the walk and jump cycles for the final animation.
texturing
Taking a break from Blender, I transitioned to Adobe Substance Painter for texturing. The software's vast array of editing options allowed me to create the precise look I had envisioned from the project's onset. Utilizing a community asset for crocodile skin, I modified it to achieve a frog-like texture that was highly realistic, while still maintaining the impression of rubber.
Animating
...And back into Blender we go for the animation process. Having experience with video editing software like Adobe Premiere Pro, my familiarity with a keyframe-based workflow made embarking on this, my first ever project in Blender, less daunting.
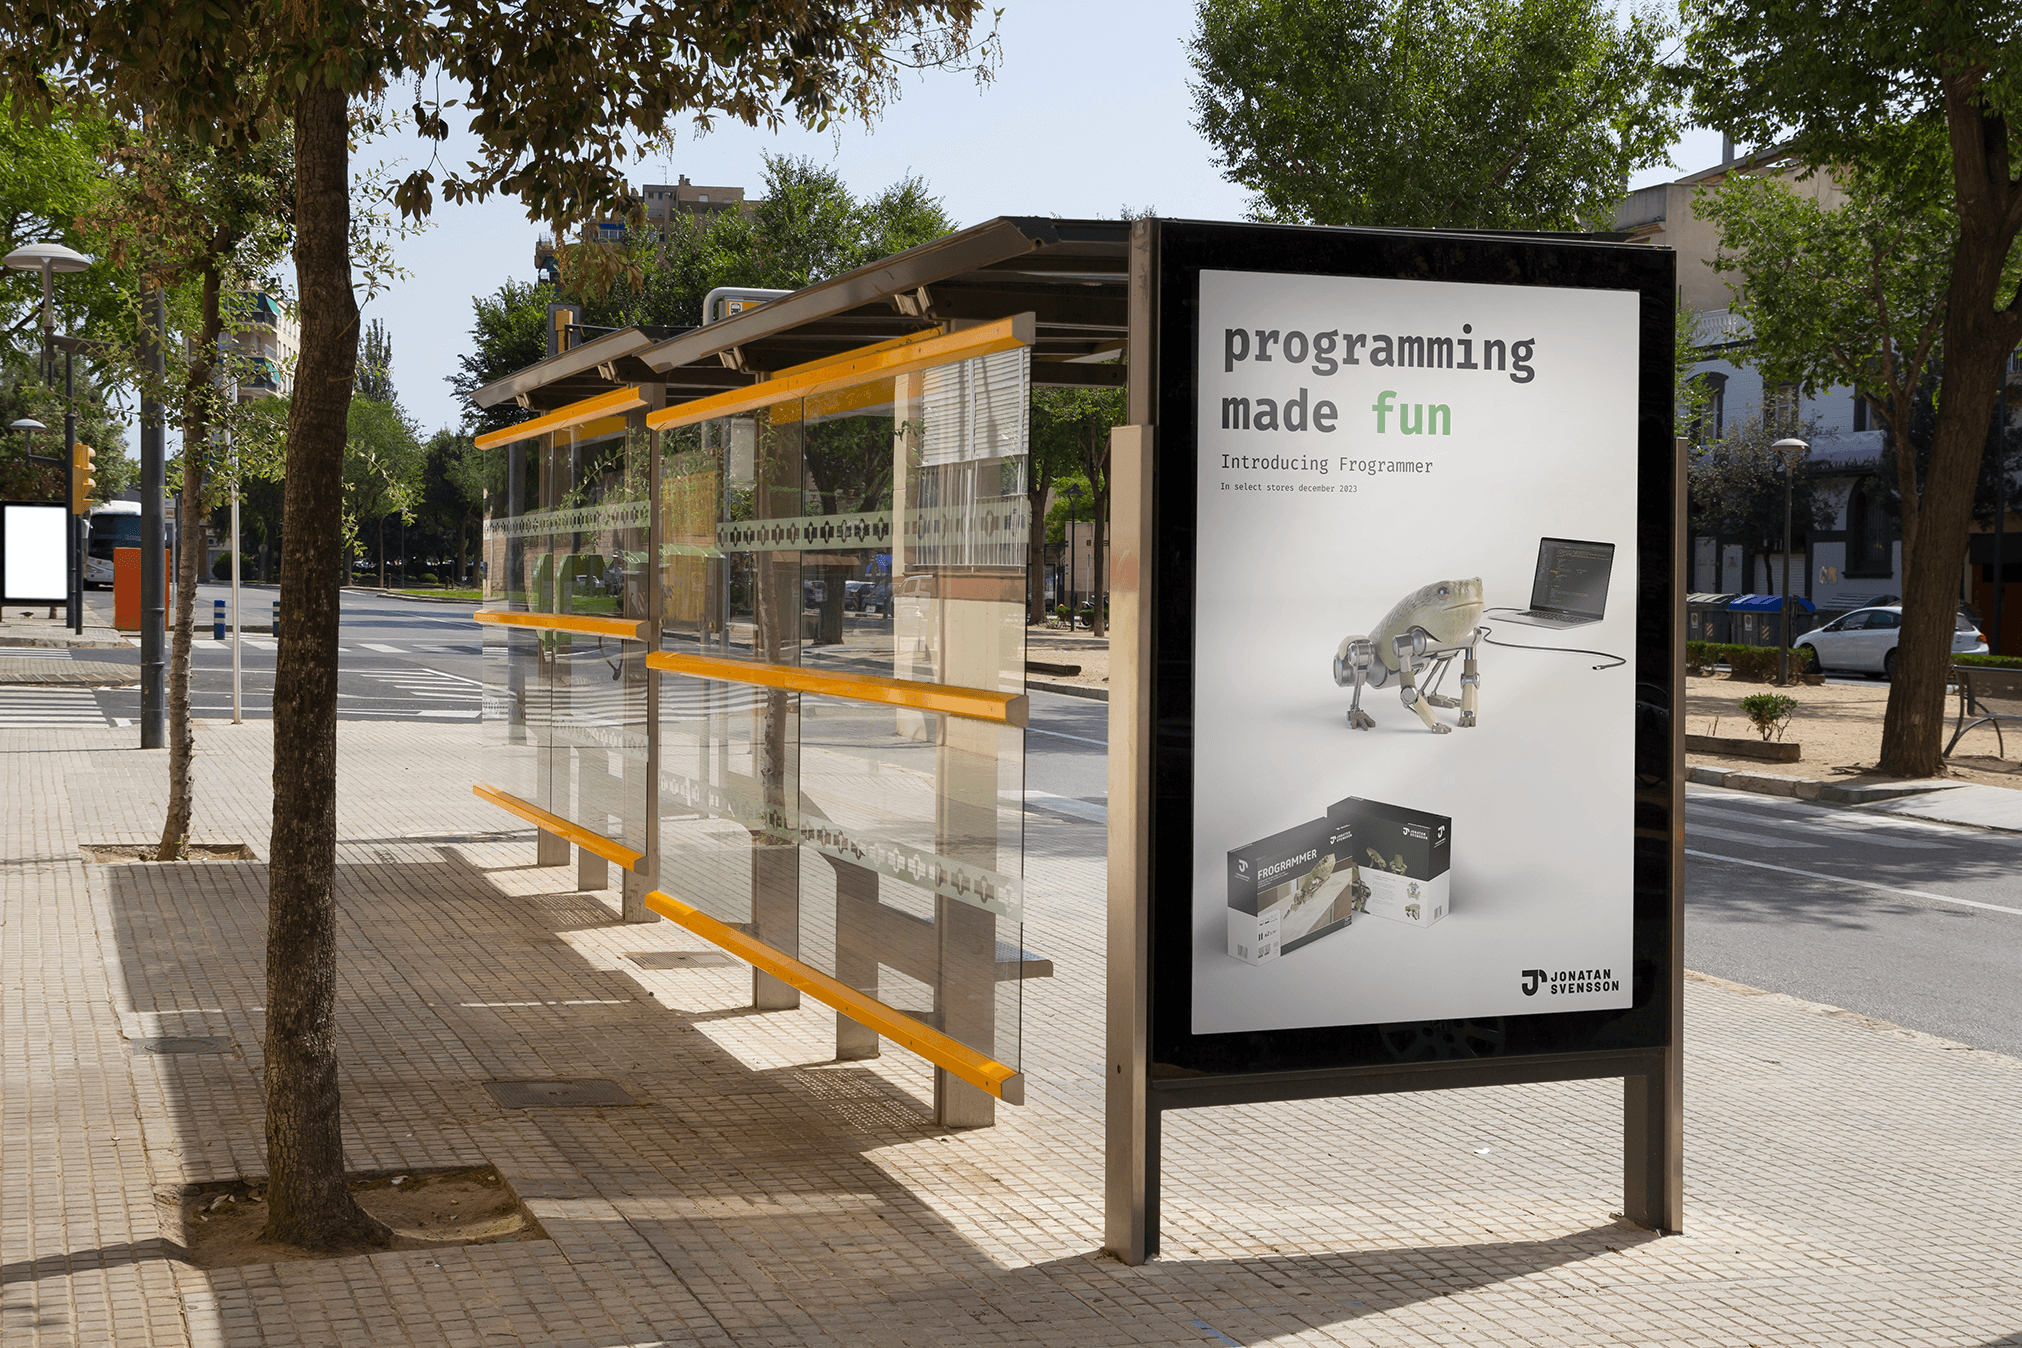
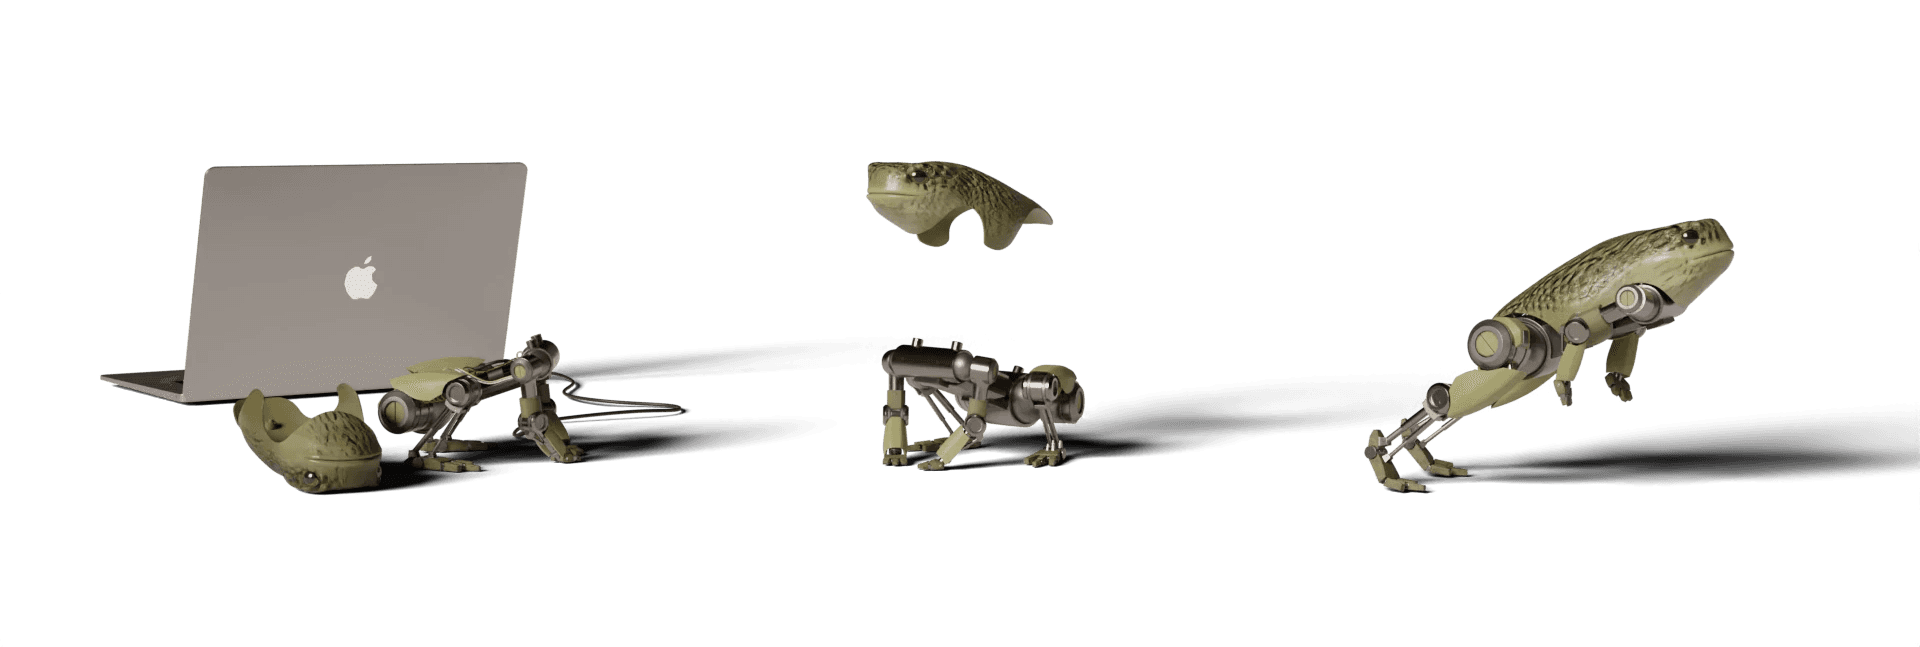
Results
"Frogrammer is designed for young teenagers with a growing interest in technology, aiming to teach them about computer programs and programming languages in a tangible way. Its robot/cyborg-inspired aesthetic and impactful lo-fi feel are tailored to resonate with this target audience.
With the final animation, my goal was to create something inspiring, something that would make an impression on the viewer. The video can be watched below.
For best viewing experience, headphones and full screen is recommended.
For best viewing experience, headphones and full screen is recommended.


My workbook of this project can be viewed or downloaded with the link below.
Download
