


Form Exploration
With the design language clearly defined, we began the sketching phase to decide on the final form. Dozens of solutions were explored, all while leveraging our insights from the benchmarking and analysis phase.


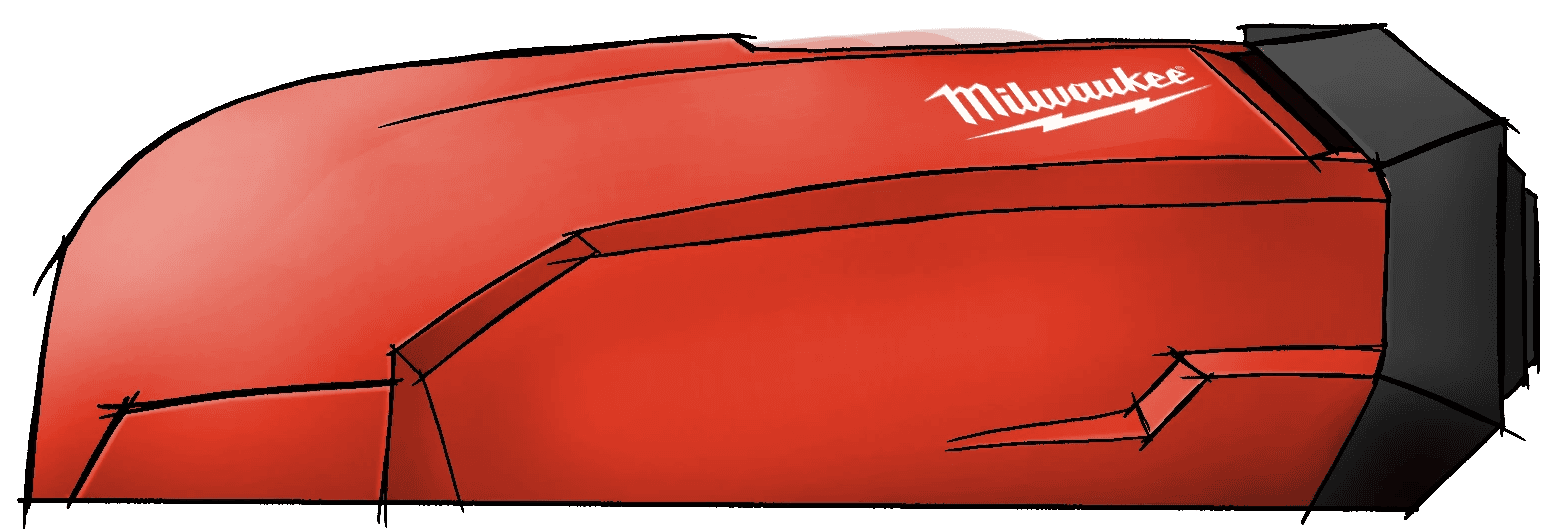
Form Definition
After narrowing down to two potential forms that successfully captured the desired expression, we transformed these ideas from two-dimensional sketches to three-dimensional clay models. This approach allowed us to truly evaluate our concepts, considering scale and proportions.
One concept was chosen to move on with.


Form Creation
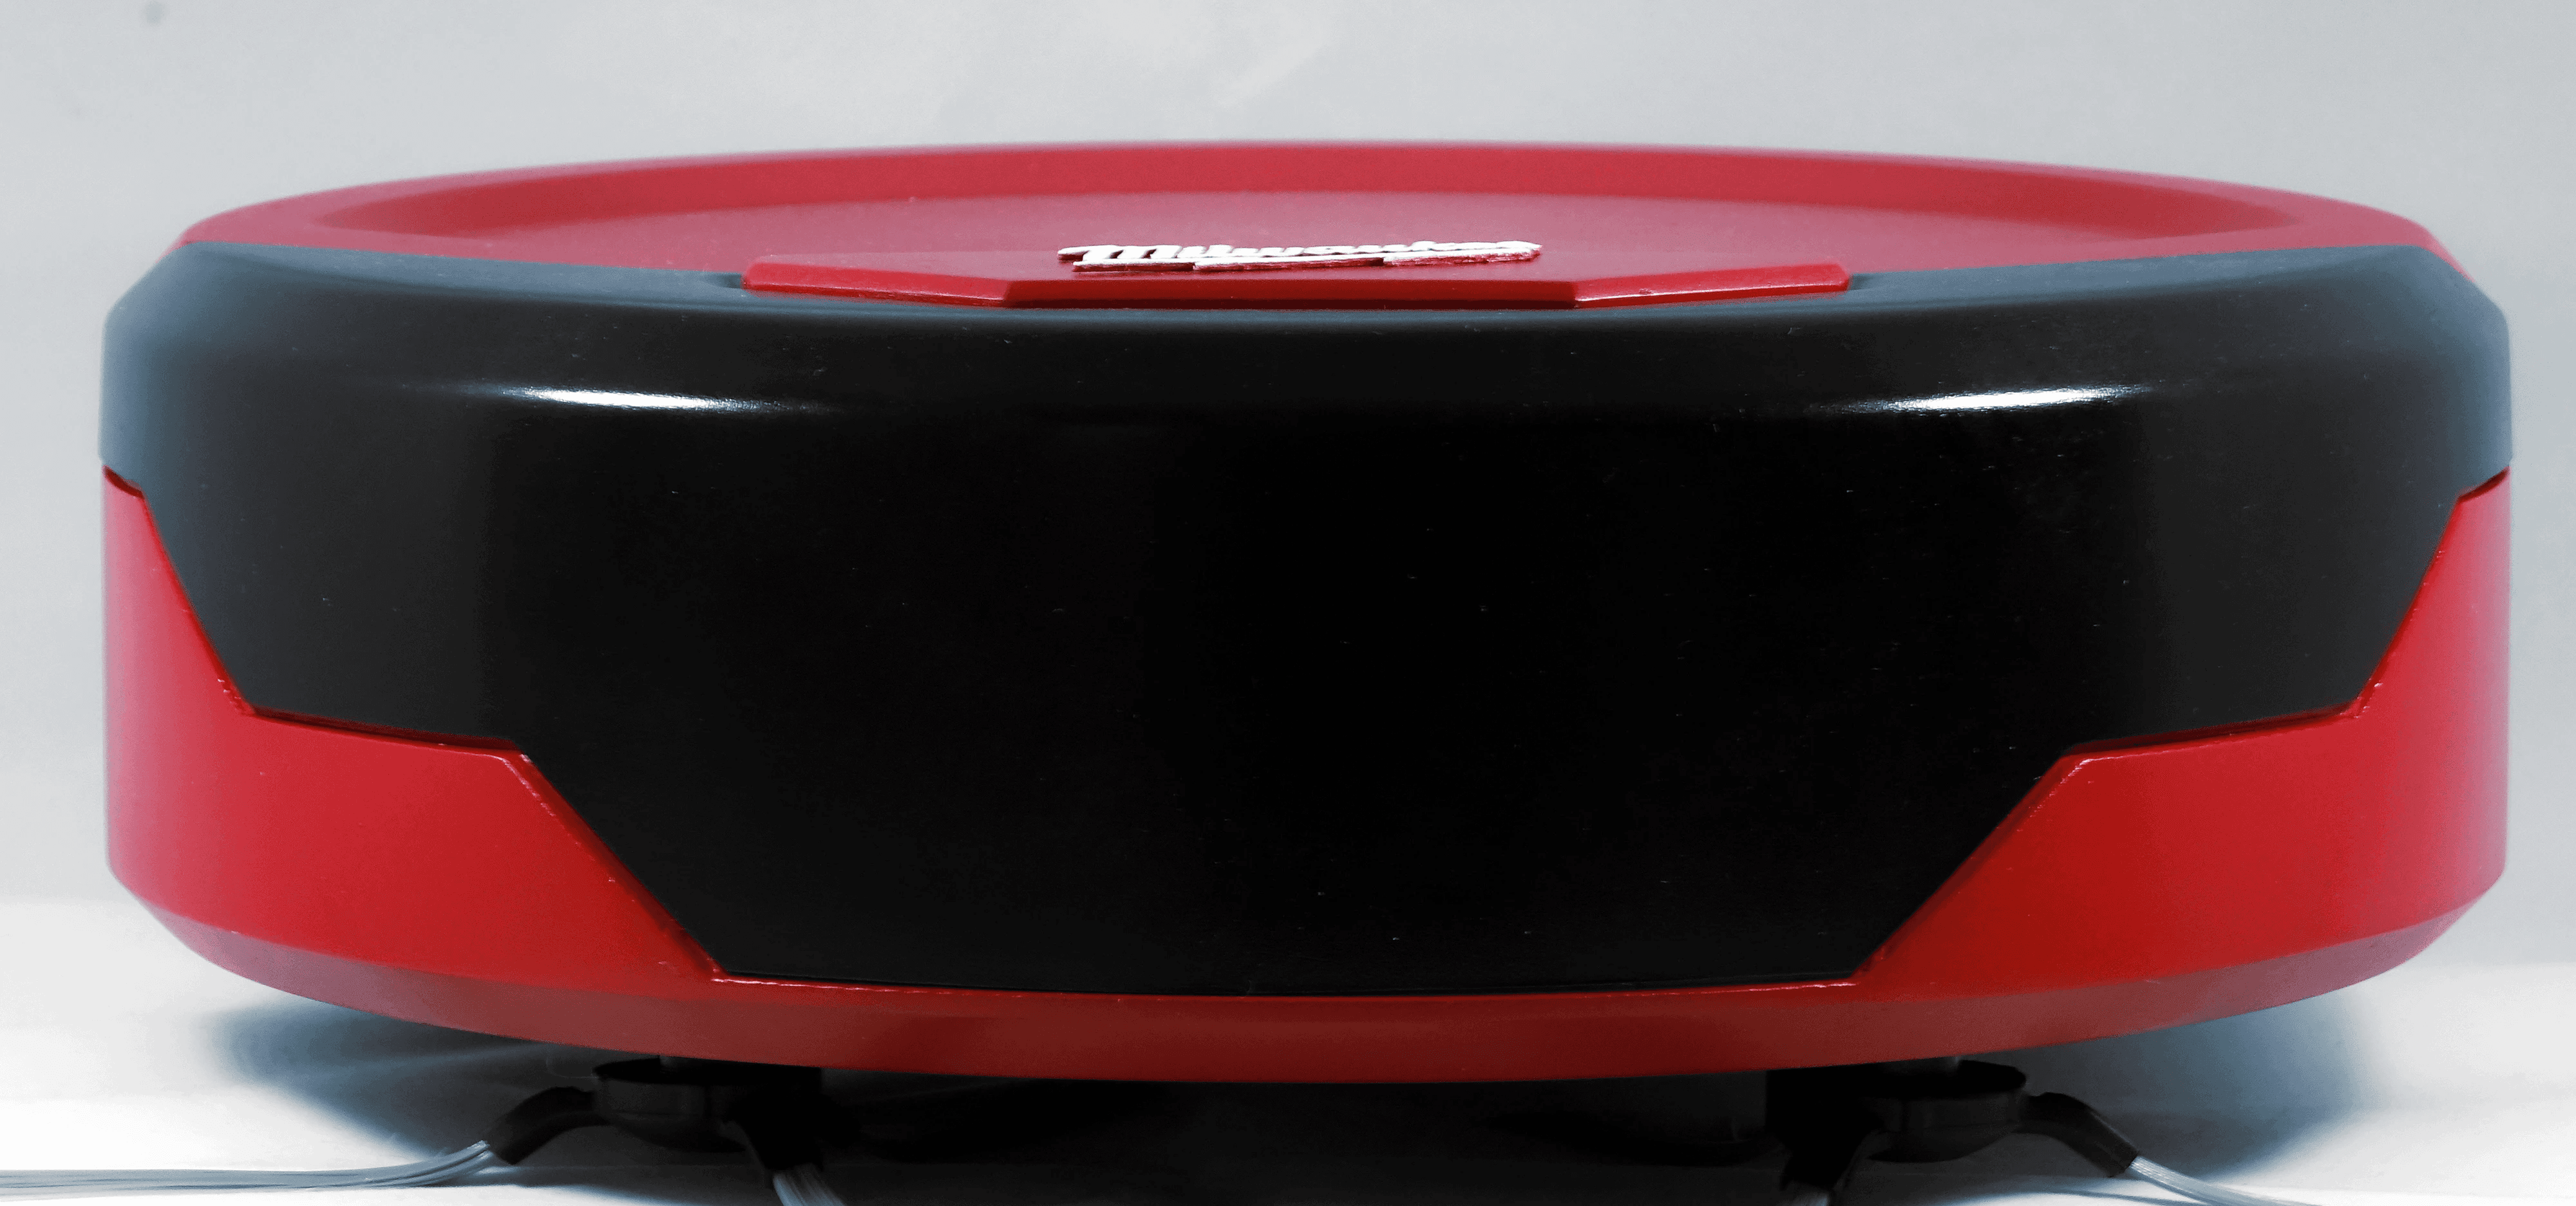
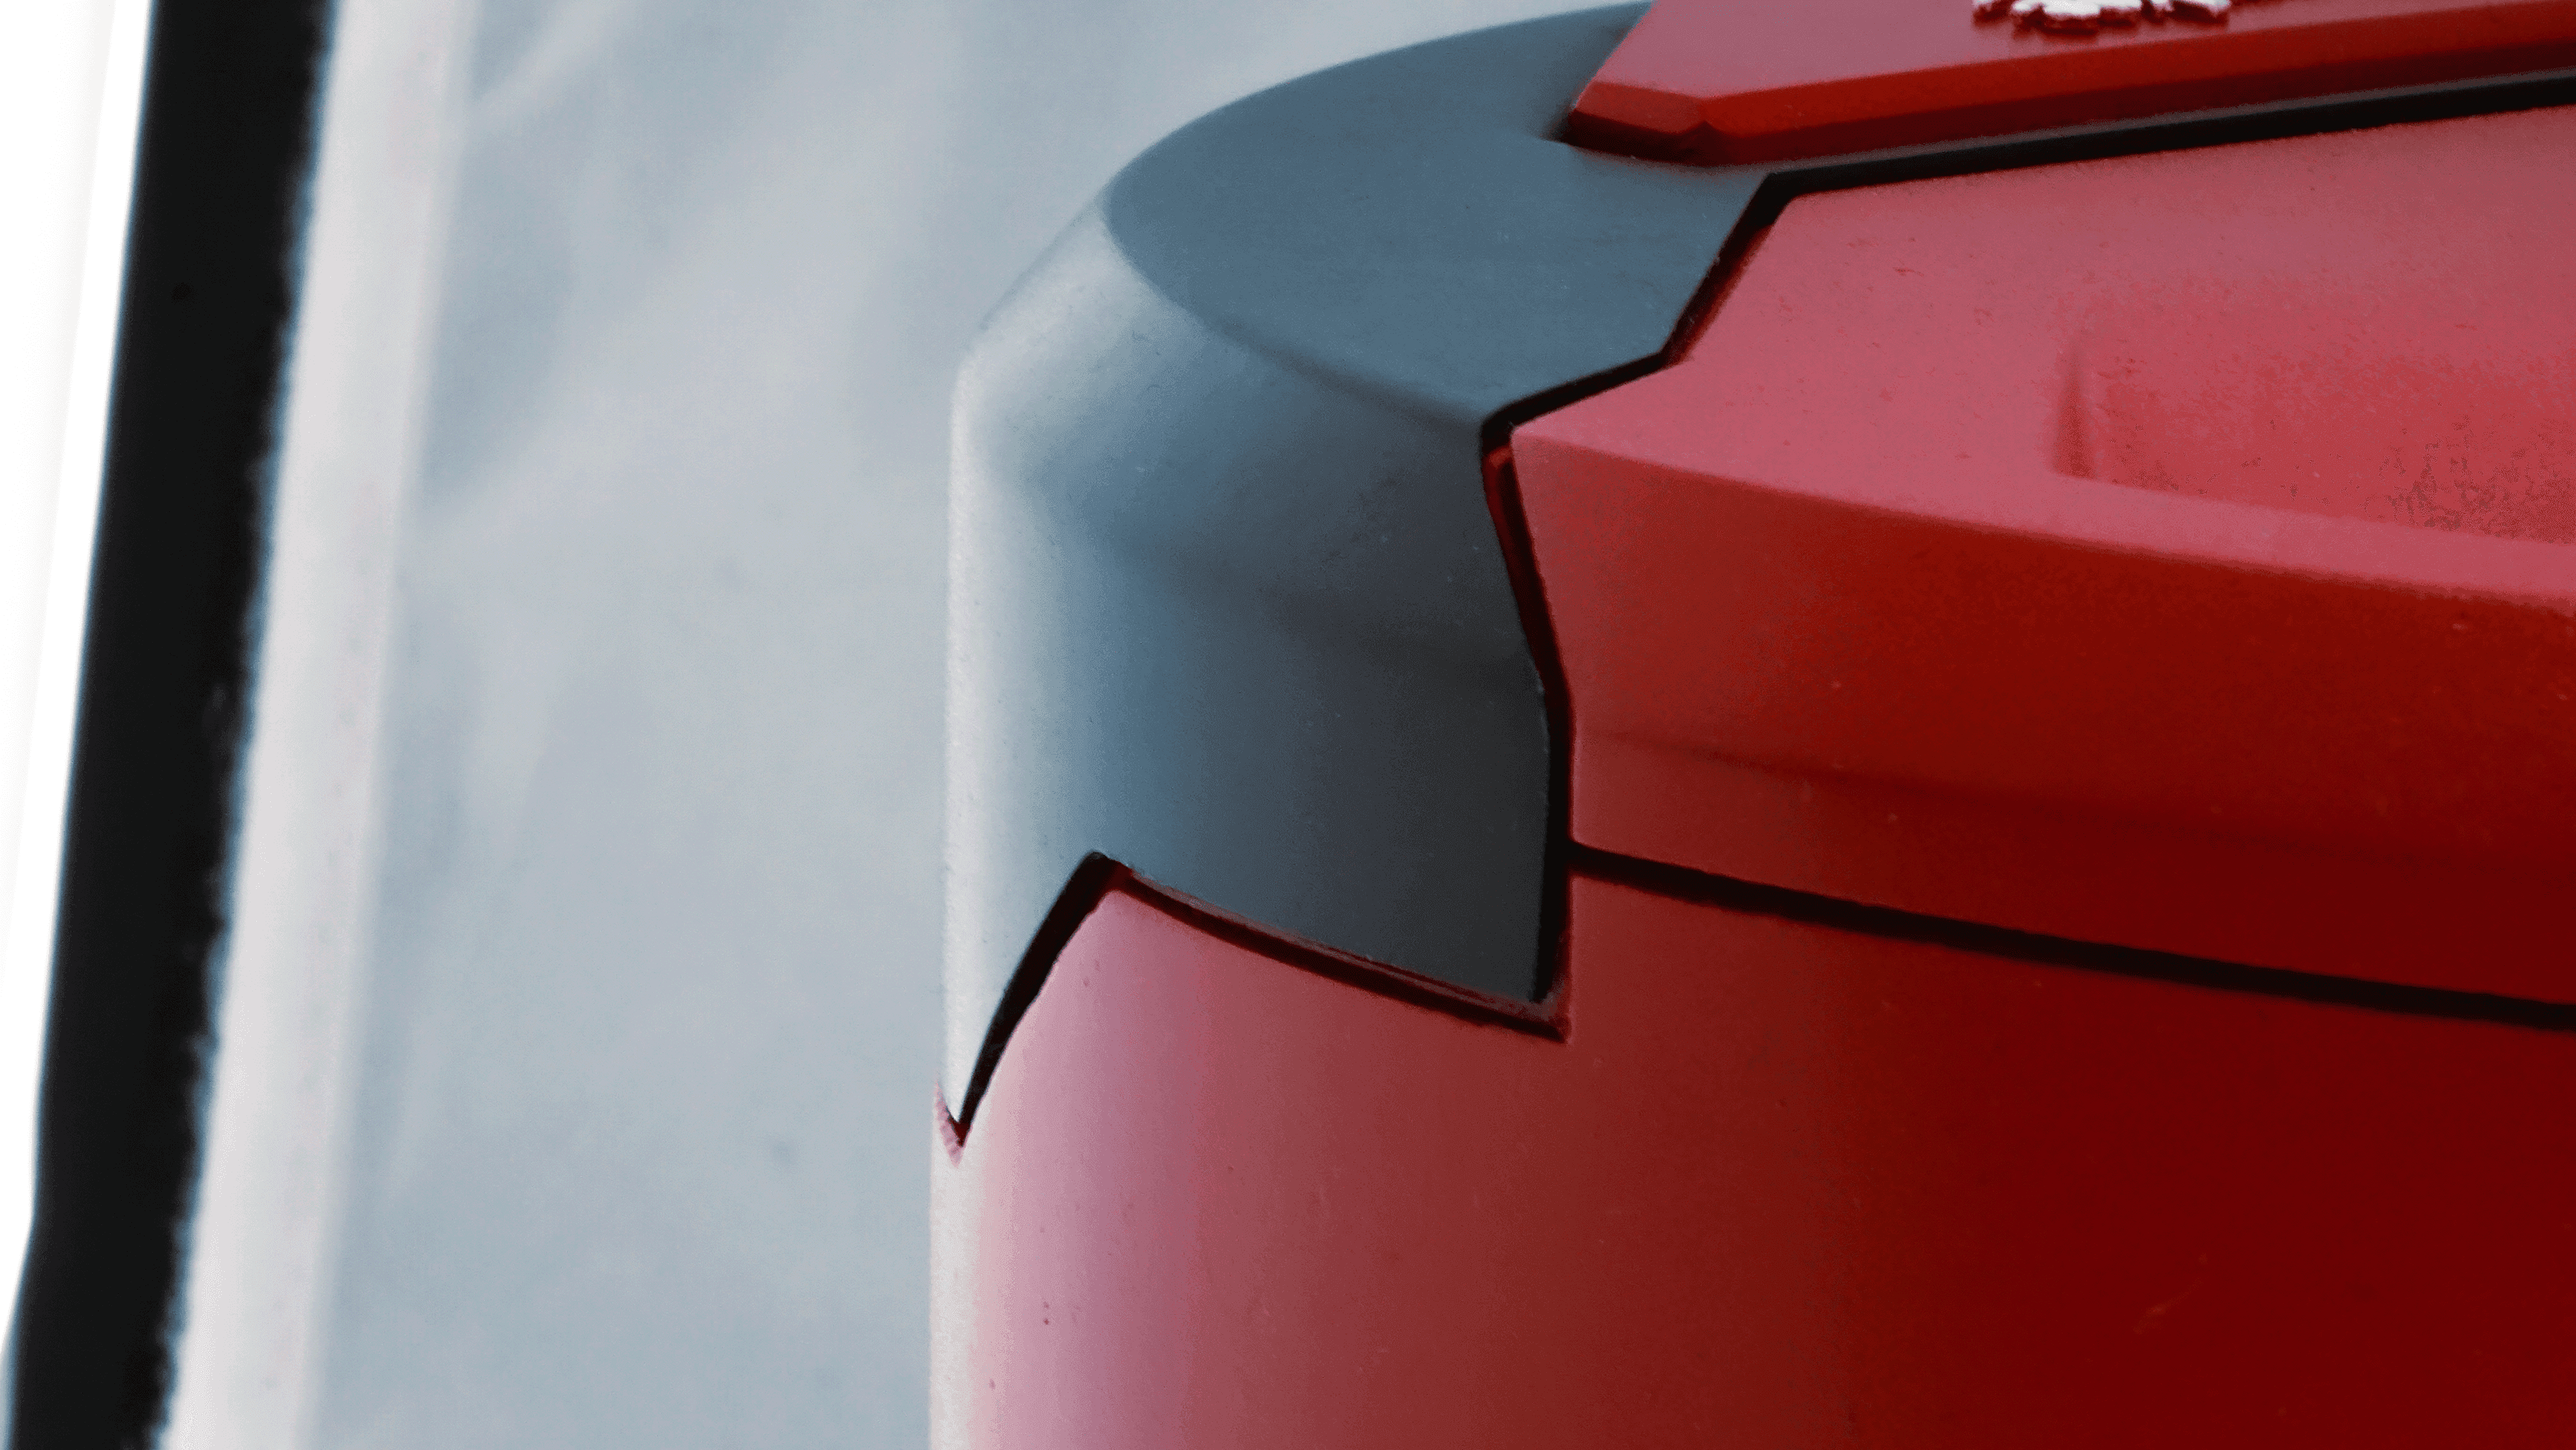
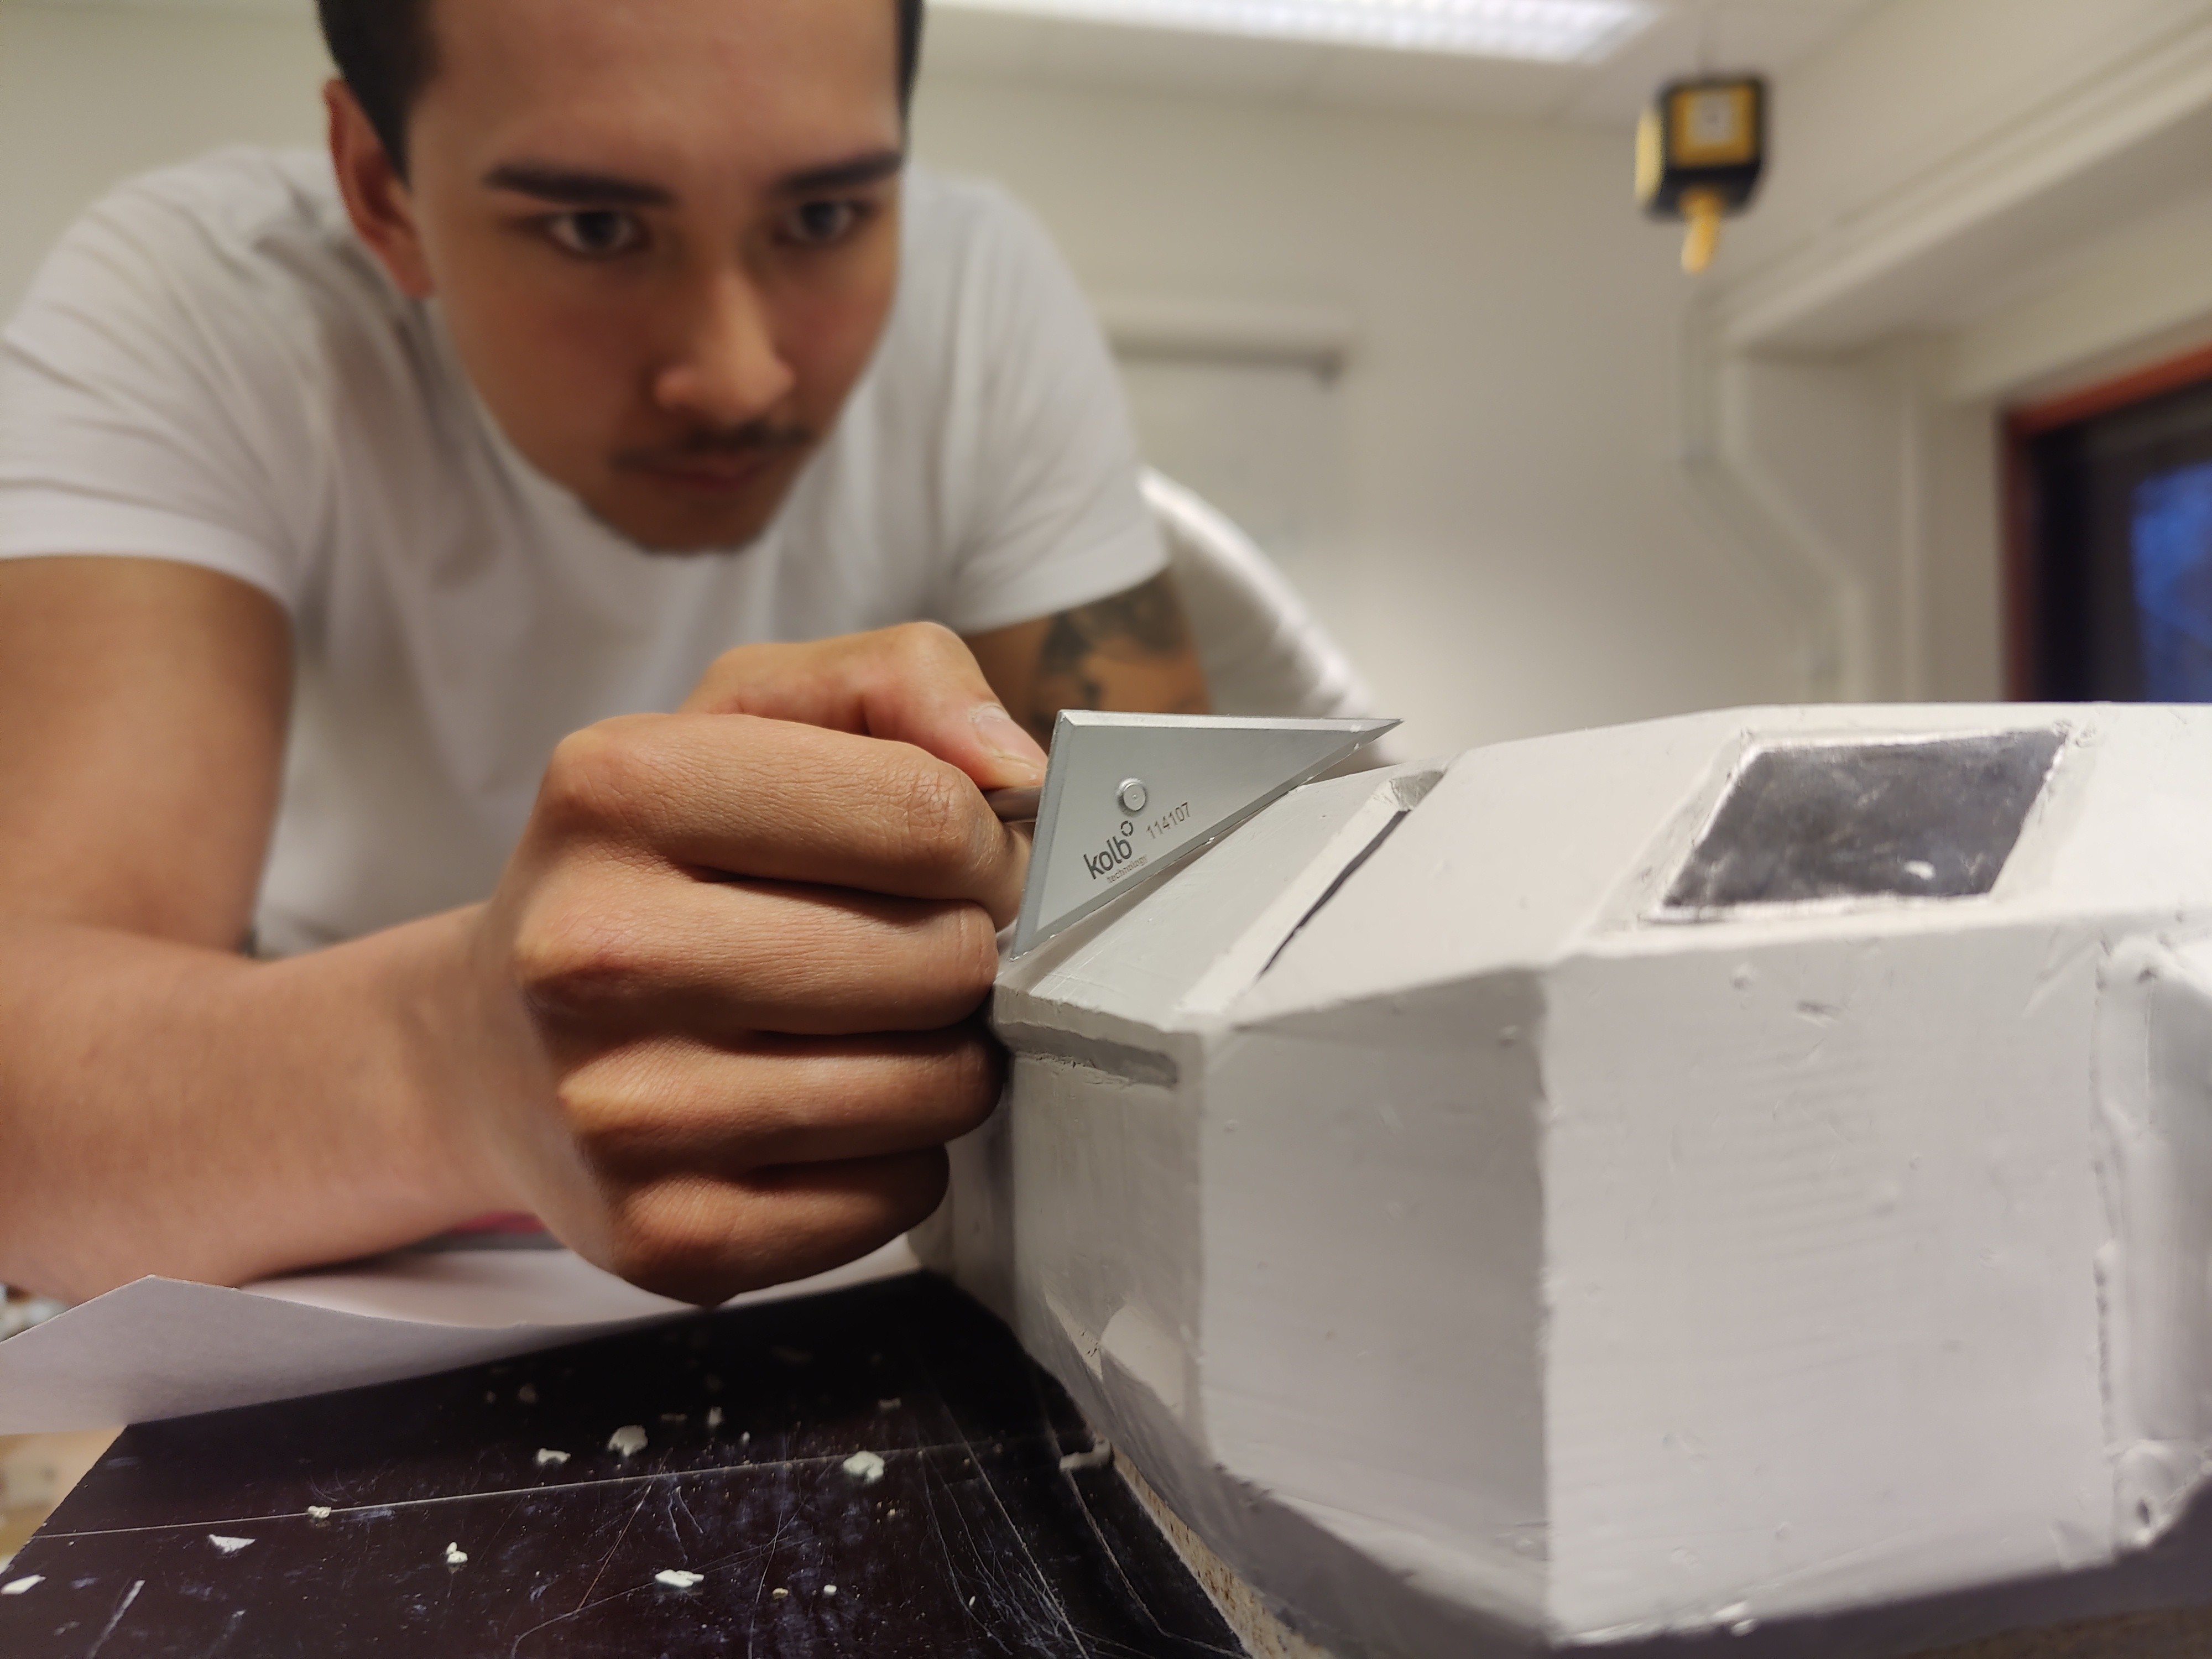
Making the prototype was the last part of the process, but perhaps the most time-consuming. We left no detail hanging — it had to be perfect.
The high-density polyurethane foam base was CNC milled from a 3D scan of the chosen clay model. Other details and parts were either 3D printed or vacuum formed. Lots of post processing was required for all parts before painting to ensure a smooth surface that made every curve and edge look as it was planned in the 3D model.
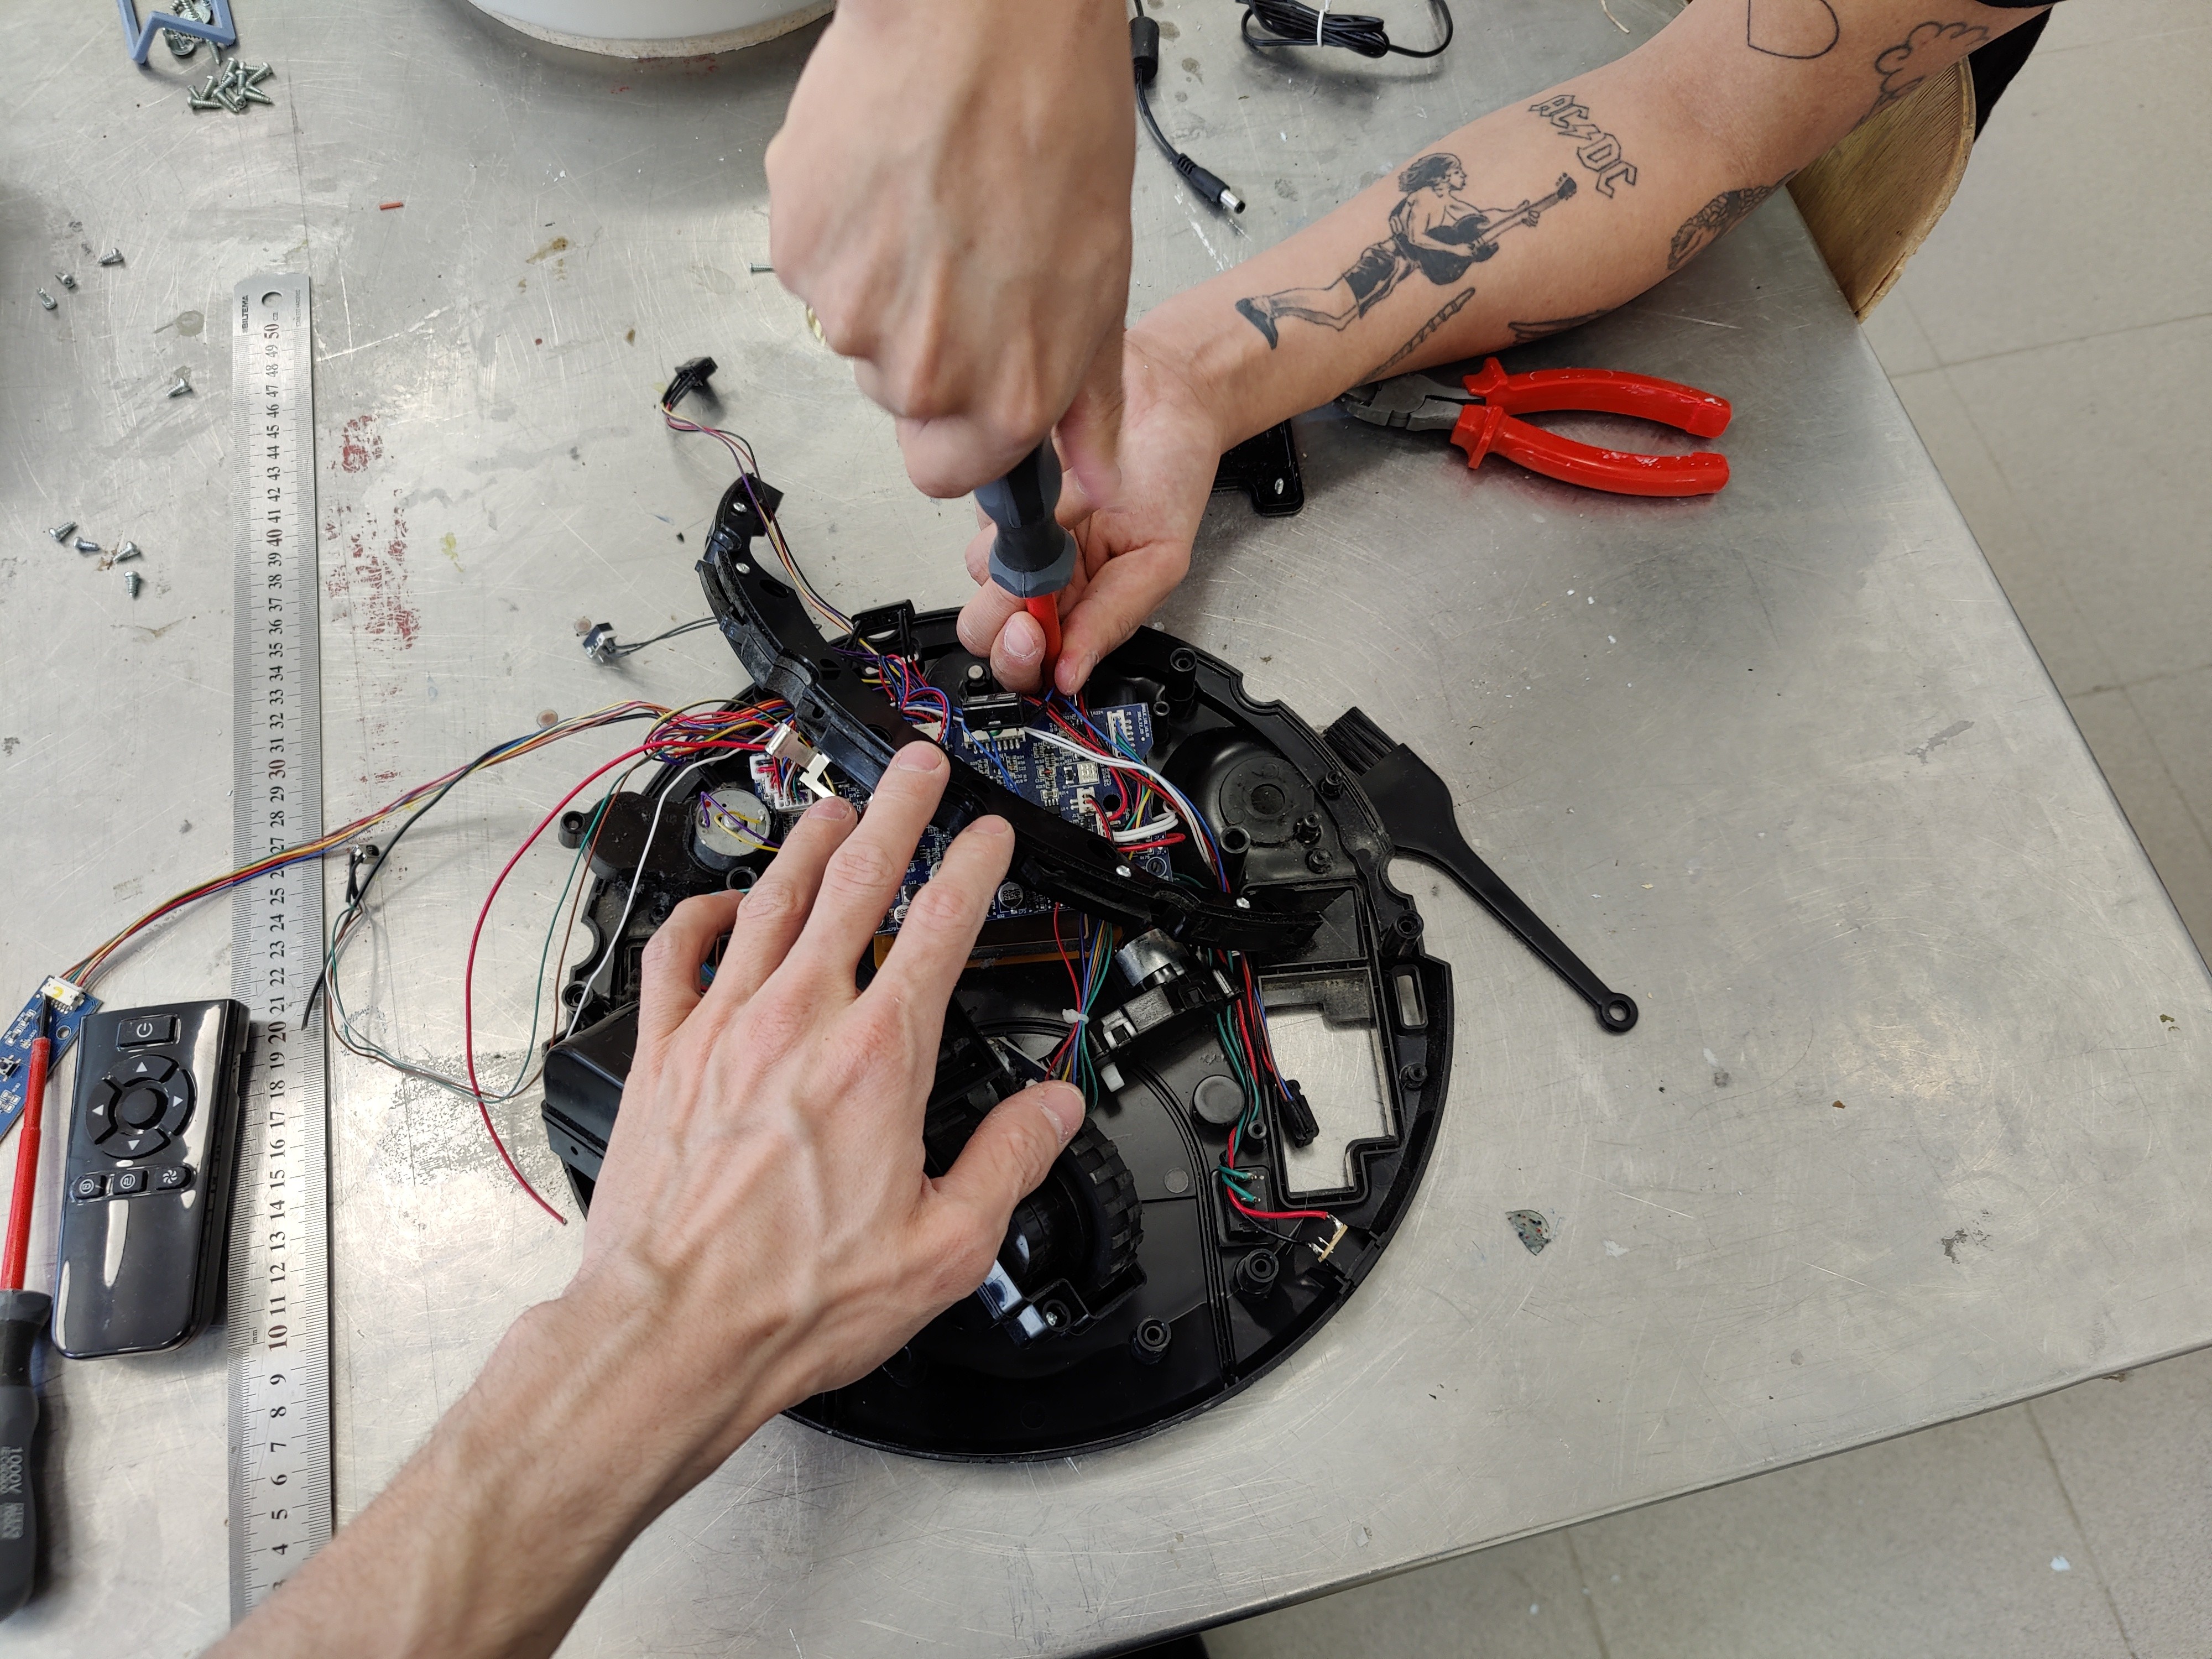
Although our task was to only make a visual prototype, we decided to challenge this and take it one step further.
By we managed to get our hands on a real robot vacuum cleaner and stripped it for parts. We milled compartments for motorized wheels, brushes and circuit boards in our high-density foam prototype before painting.
This was an incredibly delicate part of the process. Everything could've fallen apart here, as we risked ruining our prototype and running out of time. But we knew we were capable of performing this feat, and knew that the results would be something this course had never seen before.
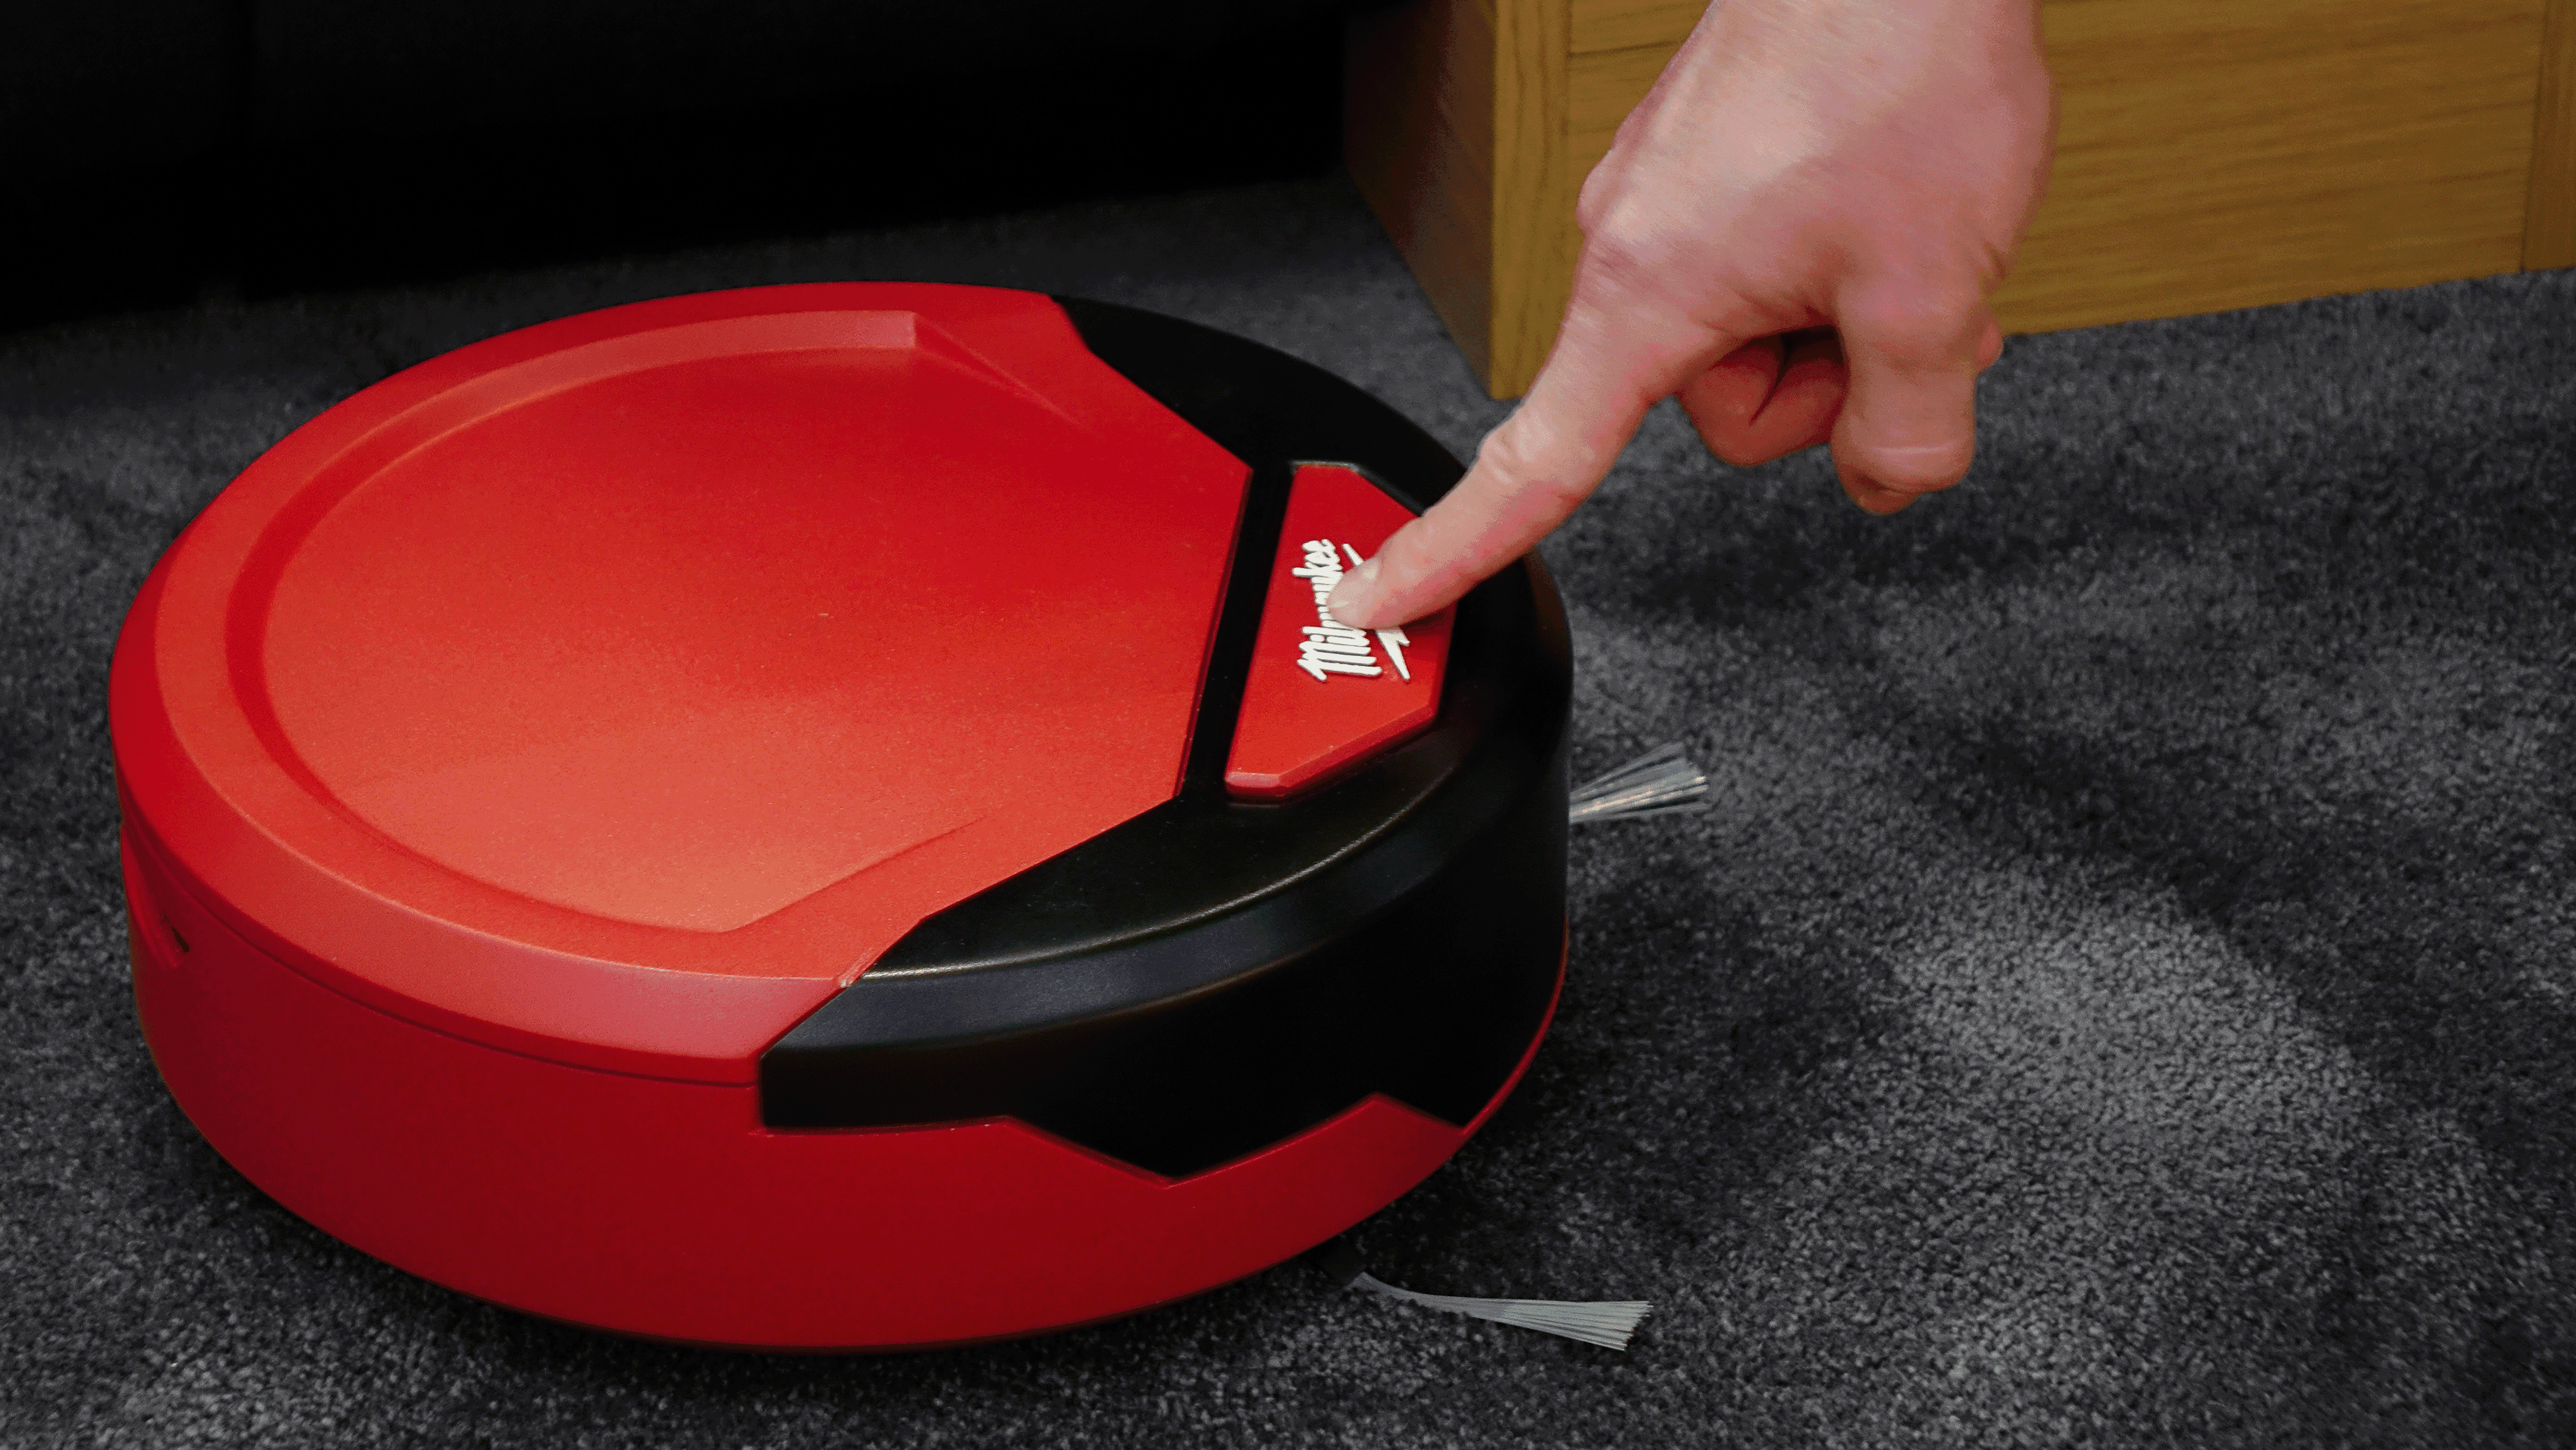
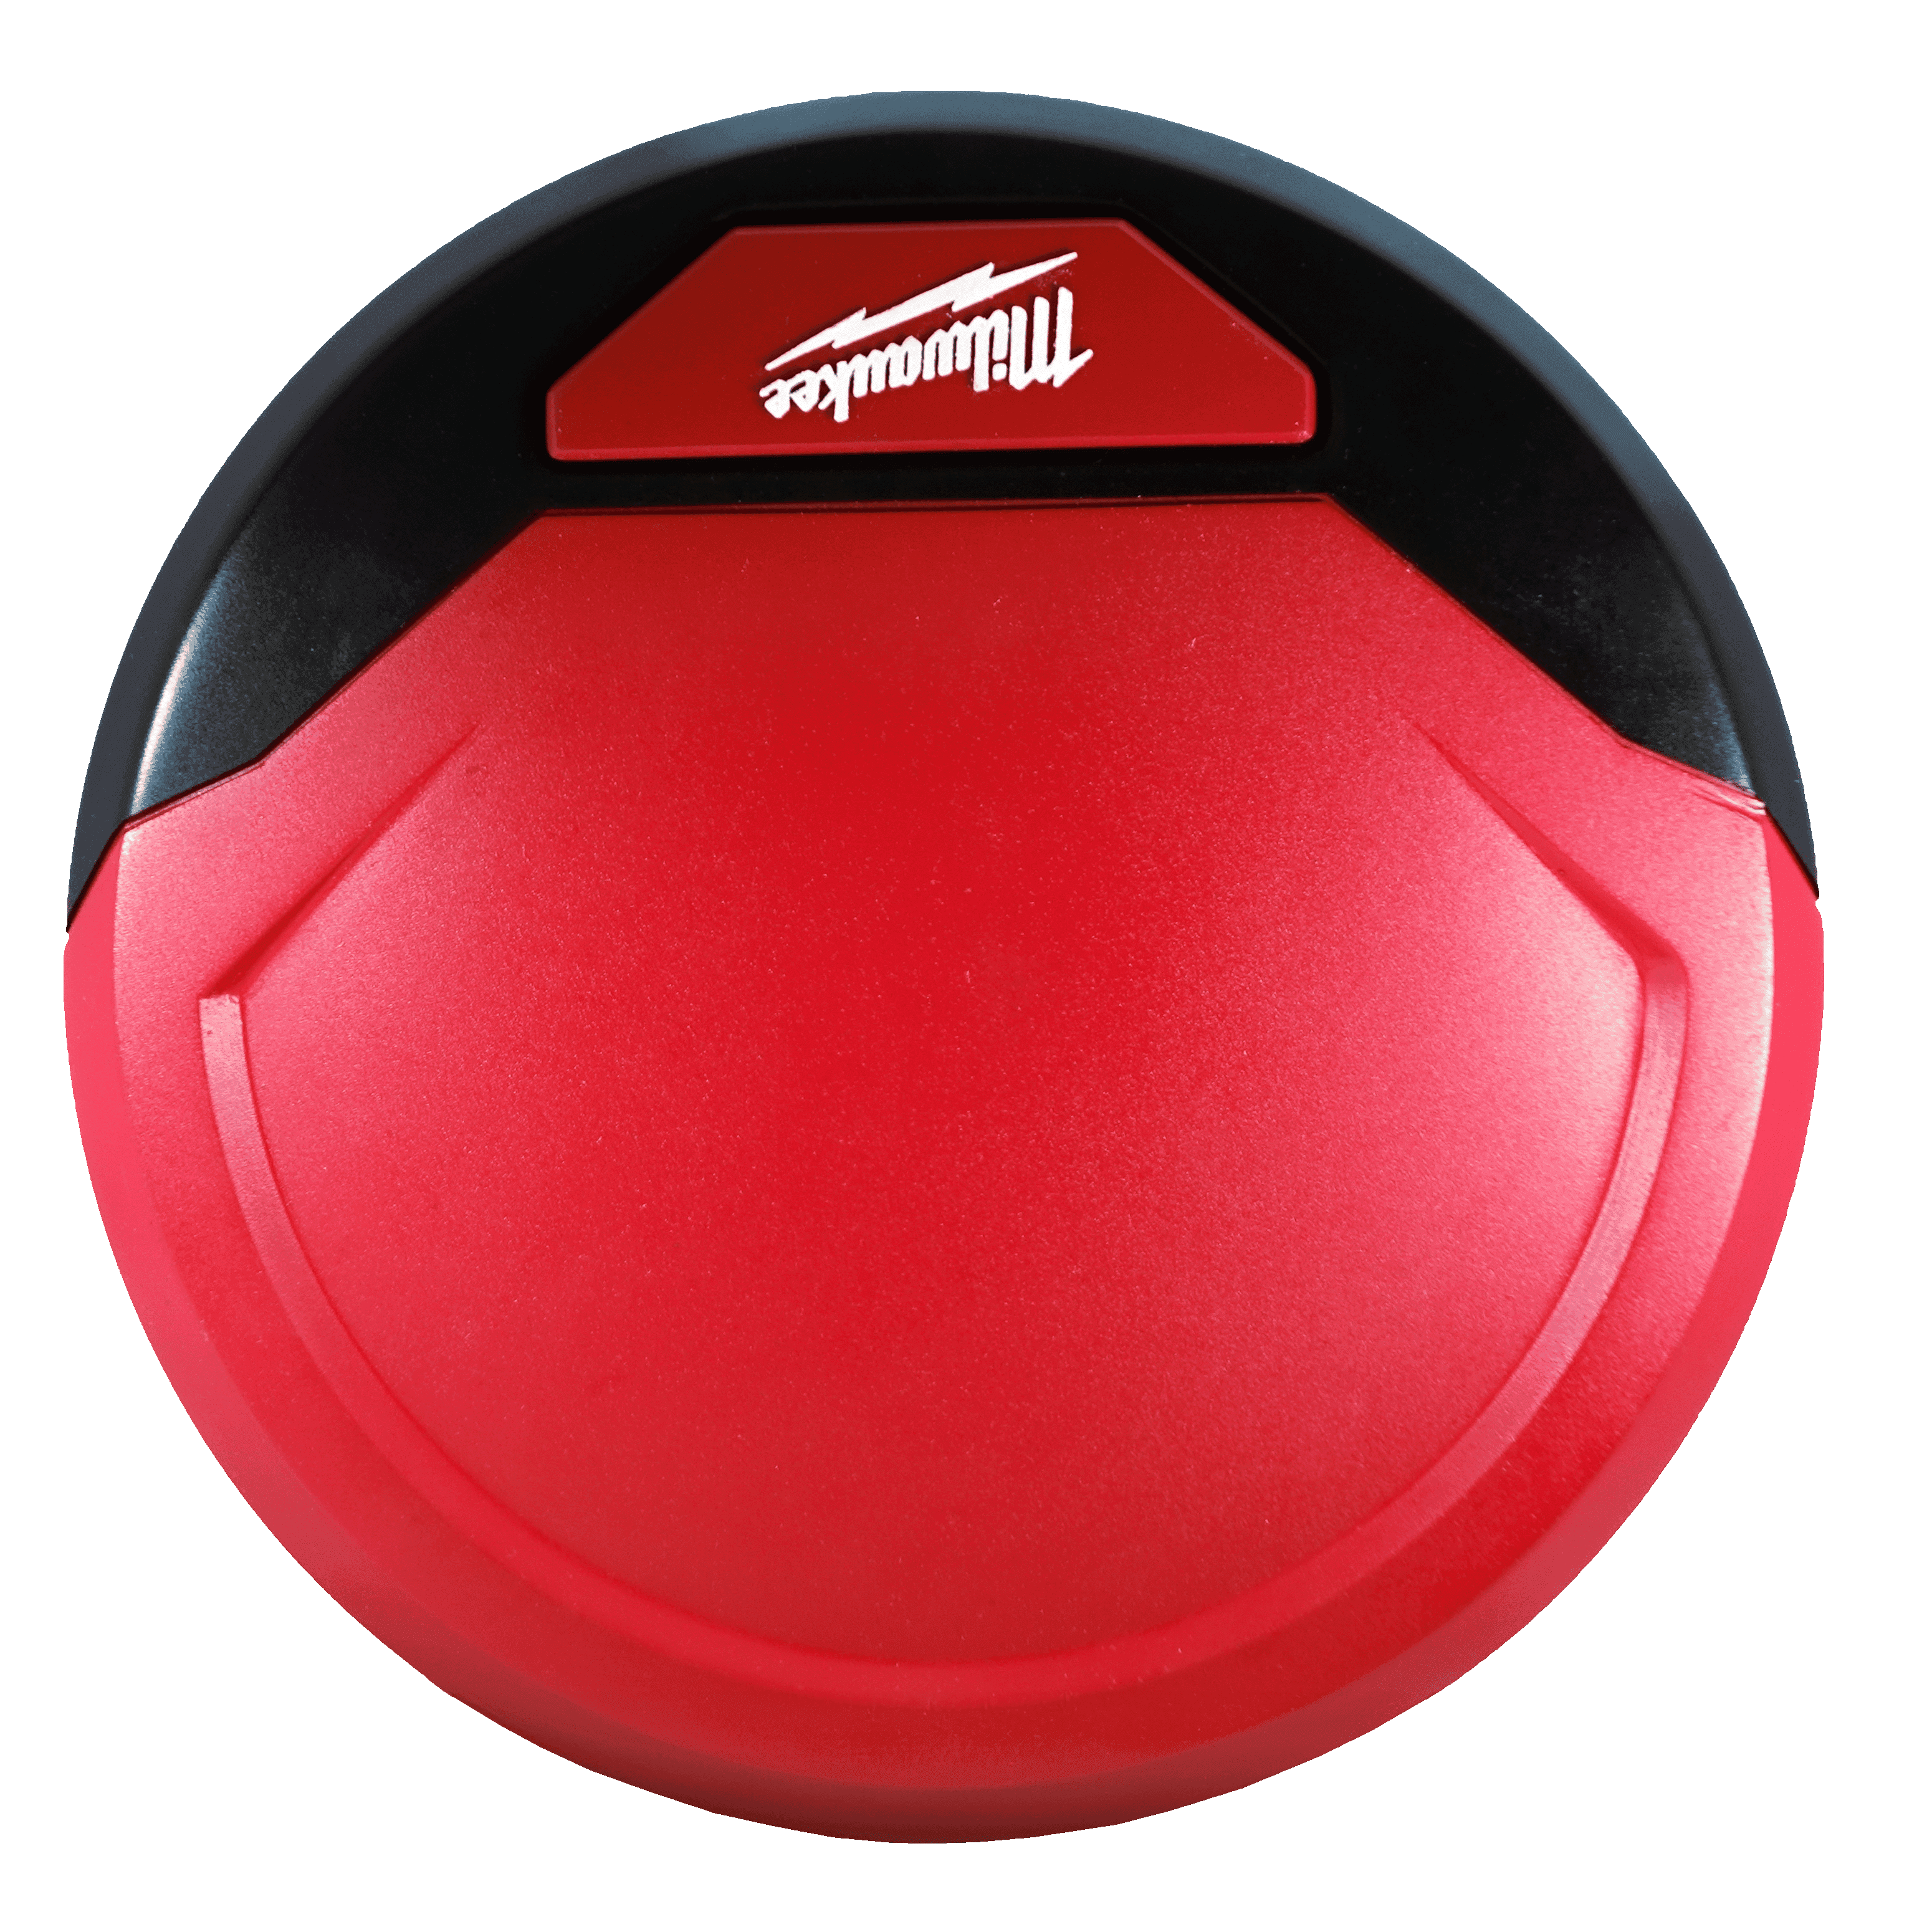
Final Result
Hours of high-precision detail work culminated in the Milwaukee M18 11'' Robot Vac. With two functional brushes and motorized wheels, the concept can be observed in it's intended context.